Home Studio Setup: The Guide to a Killer Recording Space
Setting up a home recording studio is daunting. You probably need a degree in audio engineering or a bottomless wallet to create a high-quality recording studio space…right? Fortunately, the answer is no!
In this article, we’ll cover everything from the essential equipment to monitor placement and adding acoustic treatment without breaking the bank!
While this home studio setup guide will not turn your home into Abbey Road or Paramount Recording Studios, you should be able to record music, mix and master tracks semi-professionally.
So put on your producer hat (or headphones), and let’s start building the ultimate home recording studio oasis!
Table of Contents
The Essential Equipment for a Home Studio Setup
Several essential home recording studio equipment is needed for capturing high-quality recordings and producing professional-sounding tracks.
In this section, we’ll go through these home setup essentials in more detail, discussing why they’re essential and what to consider when choosing the right studio equipment for your own home studio setup.
1. Computer
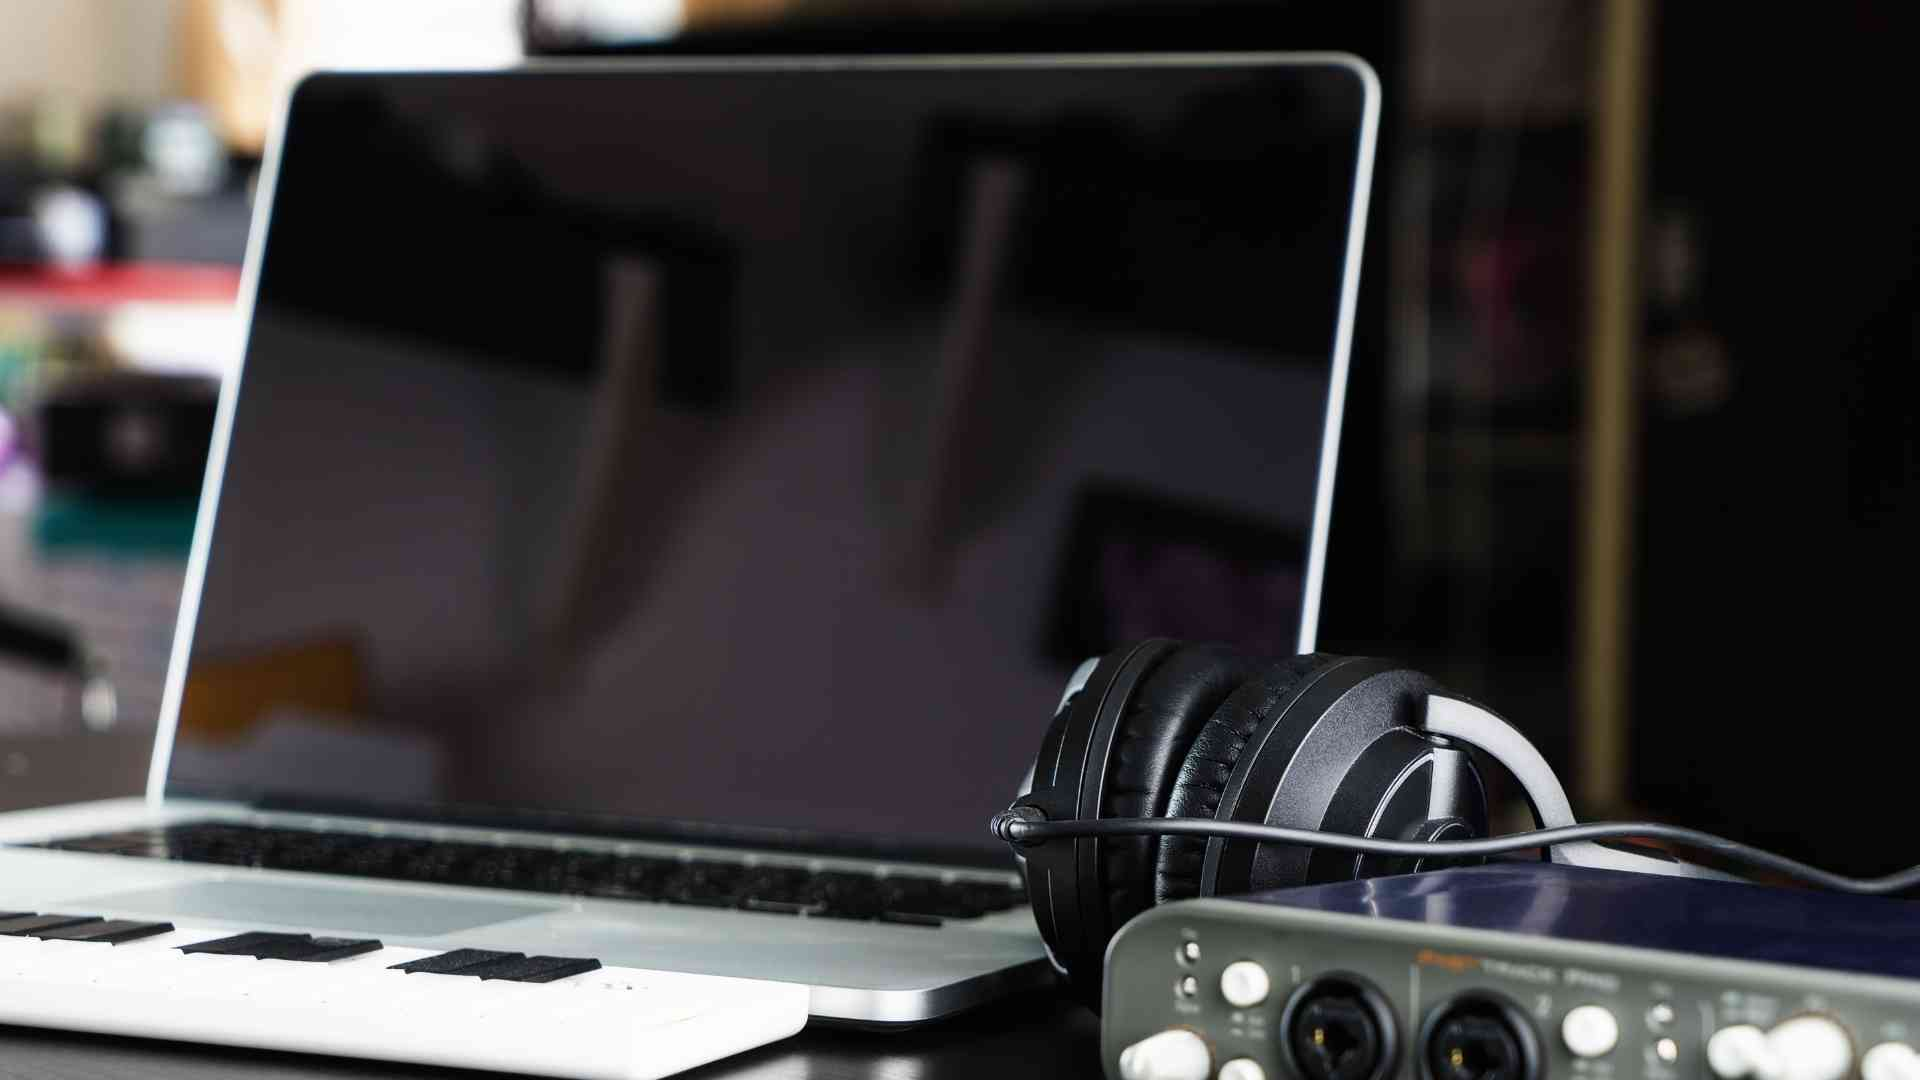
For a home recording studio setup, a computer is one of the most important pieces of equipment. A modern home studio setup without a computer is like a car without an engine. This is where you will be mixing all your songs and mastering them for music production.
Not just any computer will do, though – you’ll need one that’s up to the task of handling your DAW, VST plugins, and storing your project files.
Computer Requirements
Generally, it is better to have a computer that has a CPU with more cores and a faster base frequency, more RAM, and more storage space (preferably SSD NVMe).
Minimally, you should get a computer with an i5 processor, 8GB of RAM, and 256GB of storage space.
However, if you can afford it, you should get a more powerful computer with an i7 CPU, 16GB of RAM, and 1TB of storage space. This is because DAWs these days require high processing power.
You’ll need a large storage space for your operating system, DAW, VST plugins, sample music library, and project files. DAWs like Ableton Live require between 6 to 55 GB (depending on the edition) of free disk space, and some sample libraries can use as much as 1TB of disk space!
Also, many music producers would agree that they prefer working on a Mac computer rather than a Windows computer for lower latency and better performance!
Desktop vs. Laptop
But which type of computer is best for a home studio: a desktop or a laptop?
Desktops are generally more powerful than laptops, although…that’s kind of a sweeping statement, right? Your old desktop with a dual-core Intel Pentium processor with 2GB of RAM ain’t going to beat a Macbook Pro.
However, desktops are customizable, allowing you to add more RAM, storage, and processing power as needed.
On the other hand, laptops are much more portable, making them a great option if you need to work on the go or have limited space in your home studio.
However, they’re not as customizable as desktops. Their RAM and CPU are usually soldered onto the motherboard and can be more expensive than desktops for the same specs.
If you’re looking for a suitable laptop for your home studio, check out our recommendations on the best laptops.
If you are on a tight budget and looking for a desktop, check out our recommendations on the best prebuilt desktops under $1000.
2. Monitor Screen
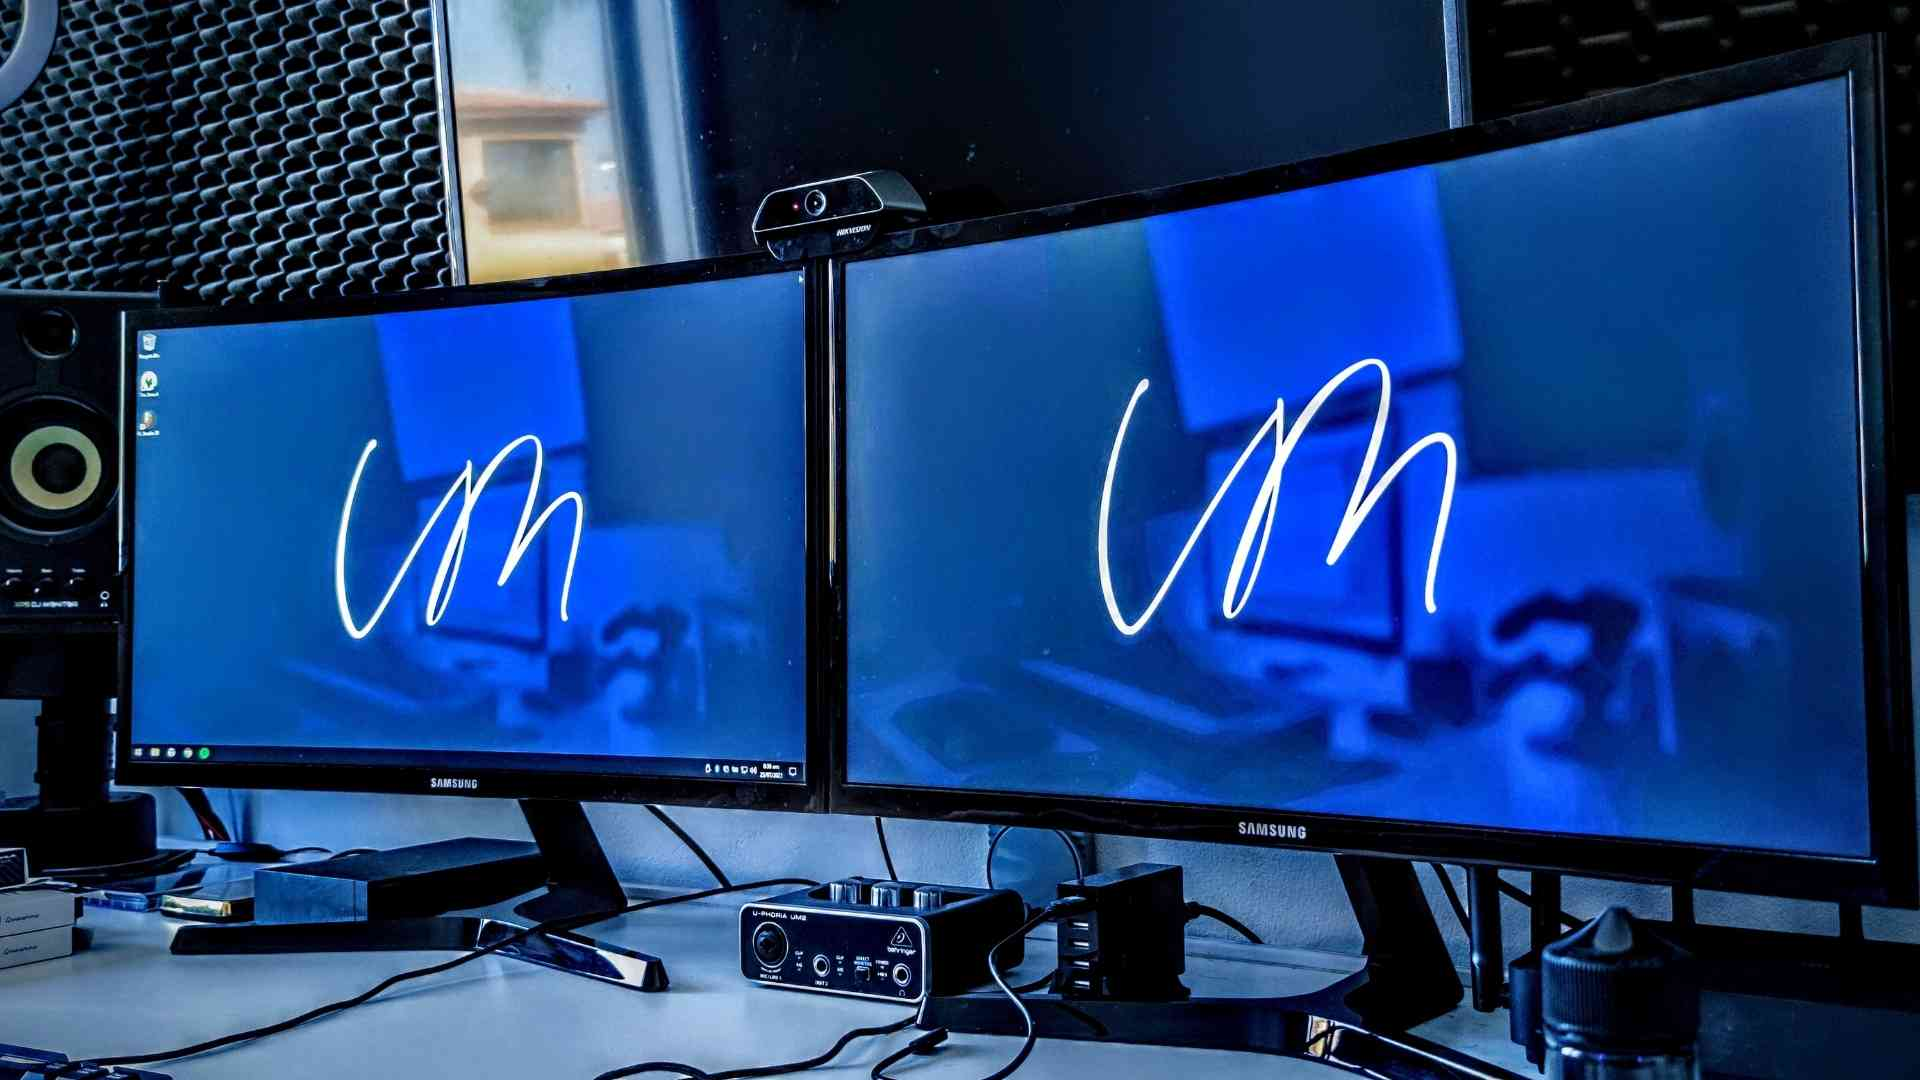
Mixing songs using your 14-inch laptop screen can be quite a pain. Squinting your eyes to find the right audio effect or instrument kit or trying to adjust that tiny compressor attack knob can be incredibly frustrating.
But before you scurry off to get the widest possible ultra-wide curved screen monitor for your home recording studio, you should always determine the optimal placement of your studio monitors before deciding on the screen size.
Once their positions are determined, you can decide whether to get dual or ultra-wide monitors based on the available space left (or the cash left in your wallet).
If you have enough space, a 27-inch 2K resolution monitor is sufficient for your music production work.
3. Microphone(s)
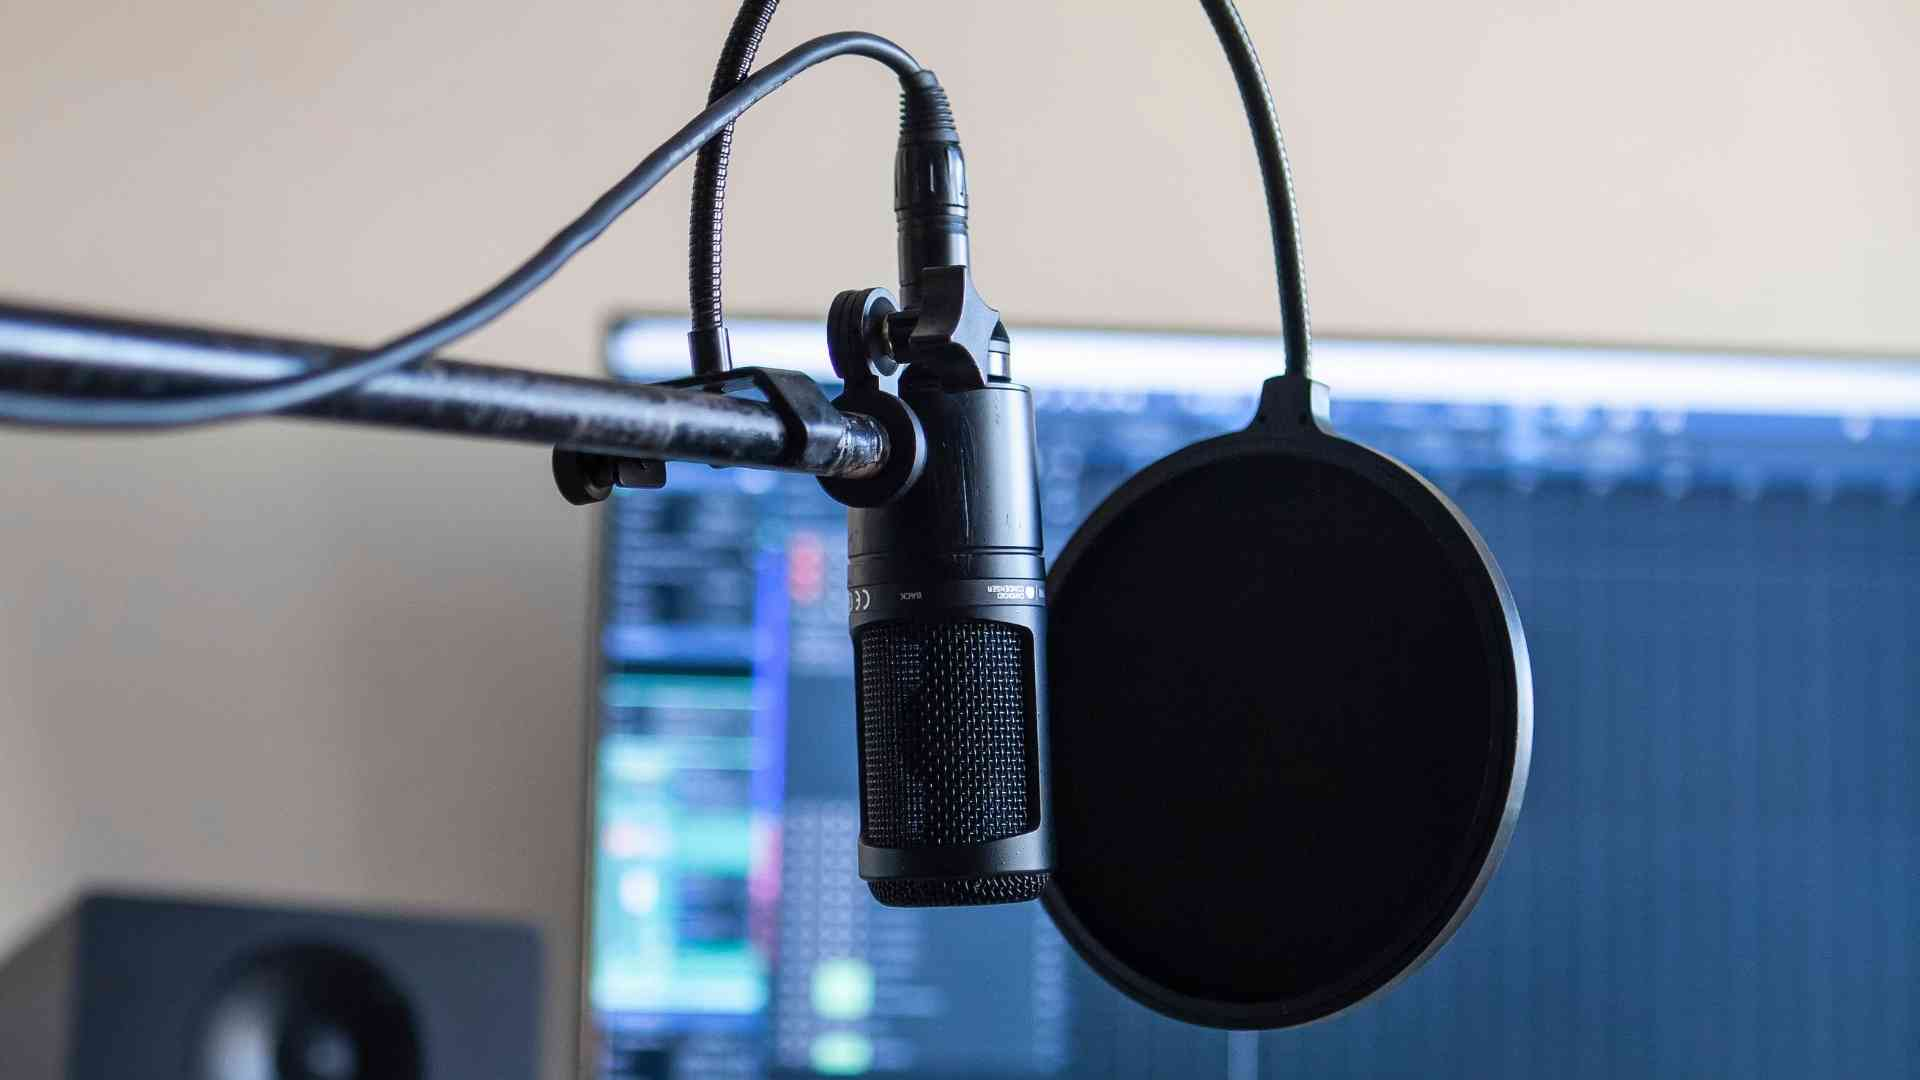
The microphone is the first important recording equipment for a home studio setup.
Deciding on a suitable microphone for recording vocals or electric guitar amps can be as tough as deciding on the next meal with your significant other, except you’re making this decision without them.
But fret not! We’re here to narrow down the options for you, and it will be as simple as deciding between eating at McDonald’s or KFC.
Before deciding what type of microphone to select for your home recording studio, choosing one with a cardioid polar pattern is ideal, especially for untreated rooms with many wall reflections. The cardioid pattern will reject sounds from all sides except the front.
If you want a full and detailed explanation of the different microphone types, how they function, and the applications they are best suited for, check out our article on the Types of Microphones.
Condenser Mics
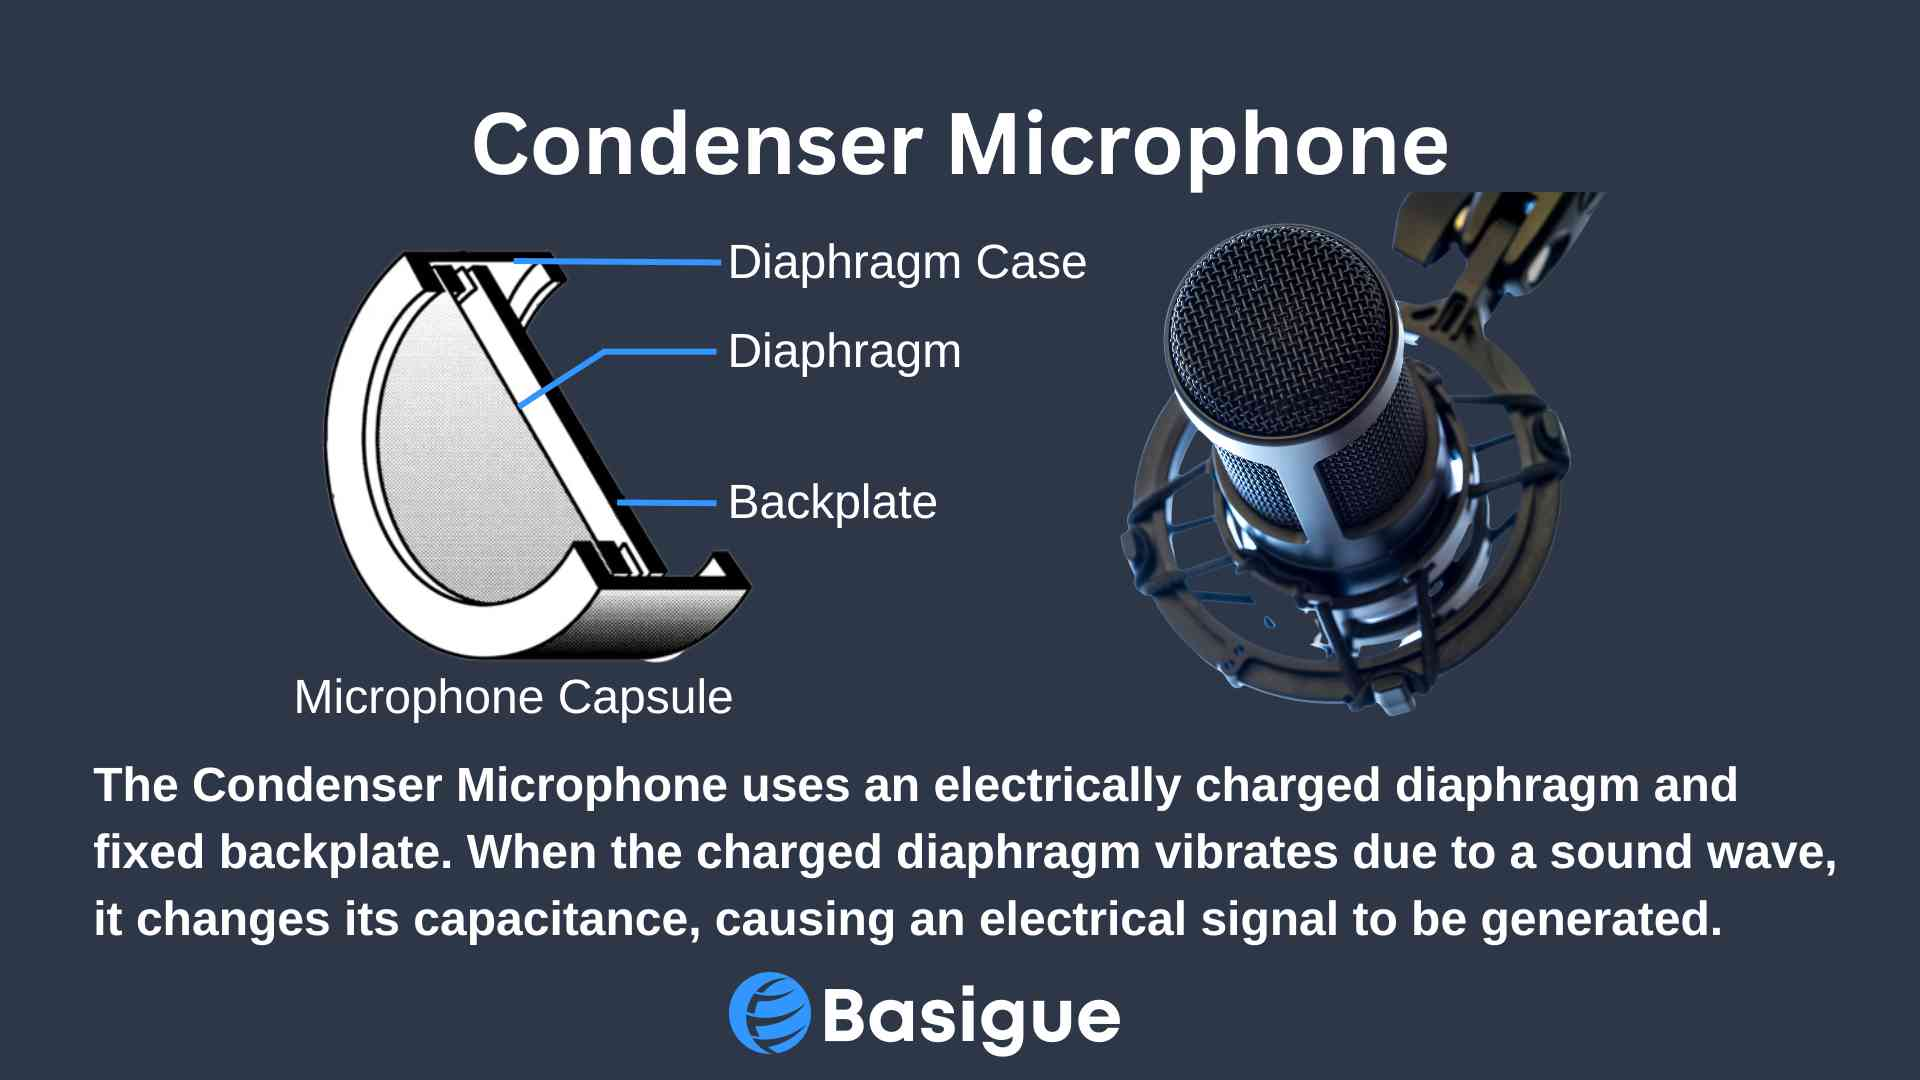
For a home recording studio setup, you would need either a condenser or dynamic microphone (or both) for recording vocals and instruments.
If you want to record vocals or delicate instruments like acoustic guitars, condenser mics, especially those with large diaphragm condenser capsules, are the way to go.
Check out our article How to Record Acoustic Guitars and How to Make a Cover Song for more helpful tips.
It is worth noting that shotgun microphones are a type of small-condenser capsule microphone that has great directionality and off-axis rejection capabilities. They are great for your home studio if you want to use them as a boom mic out of your camera frame when doing podcasts or streaming.
They give the best representation of a sound due to their flat and uncolored frequency response, and they capture details clearly, especially at high frequencies.
It is important to note that if you use condenser microphones that require XLR cables, you will need to provide phantom power (absolutely nothing to do with Erik’s operatic singing voice) to operate.
However, if you use a USB condenser mic, you can just plug it into your computer to start using it.
Dynamic Mics
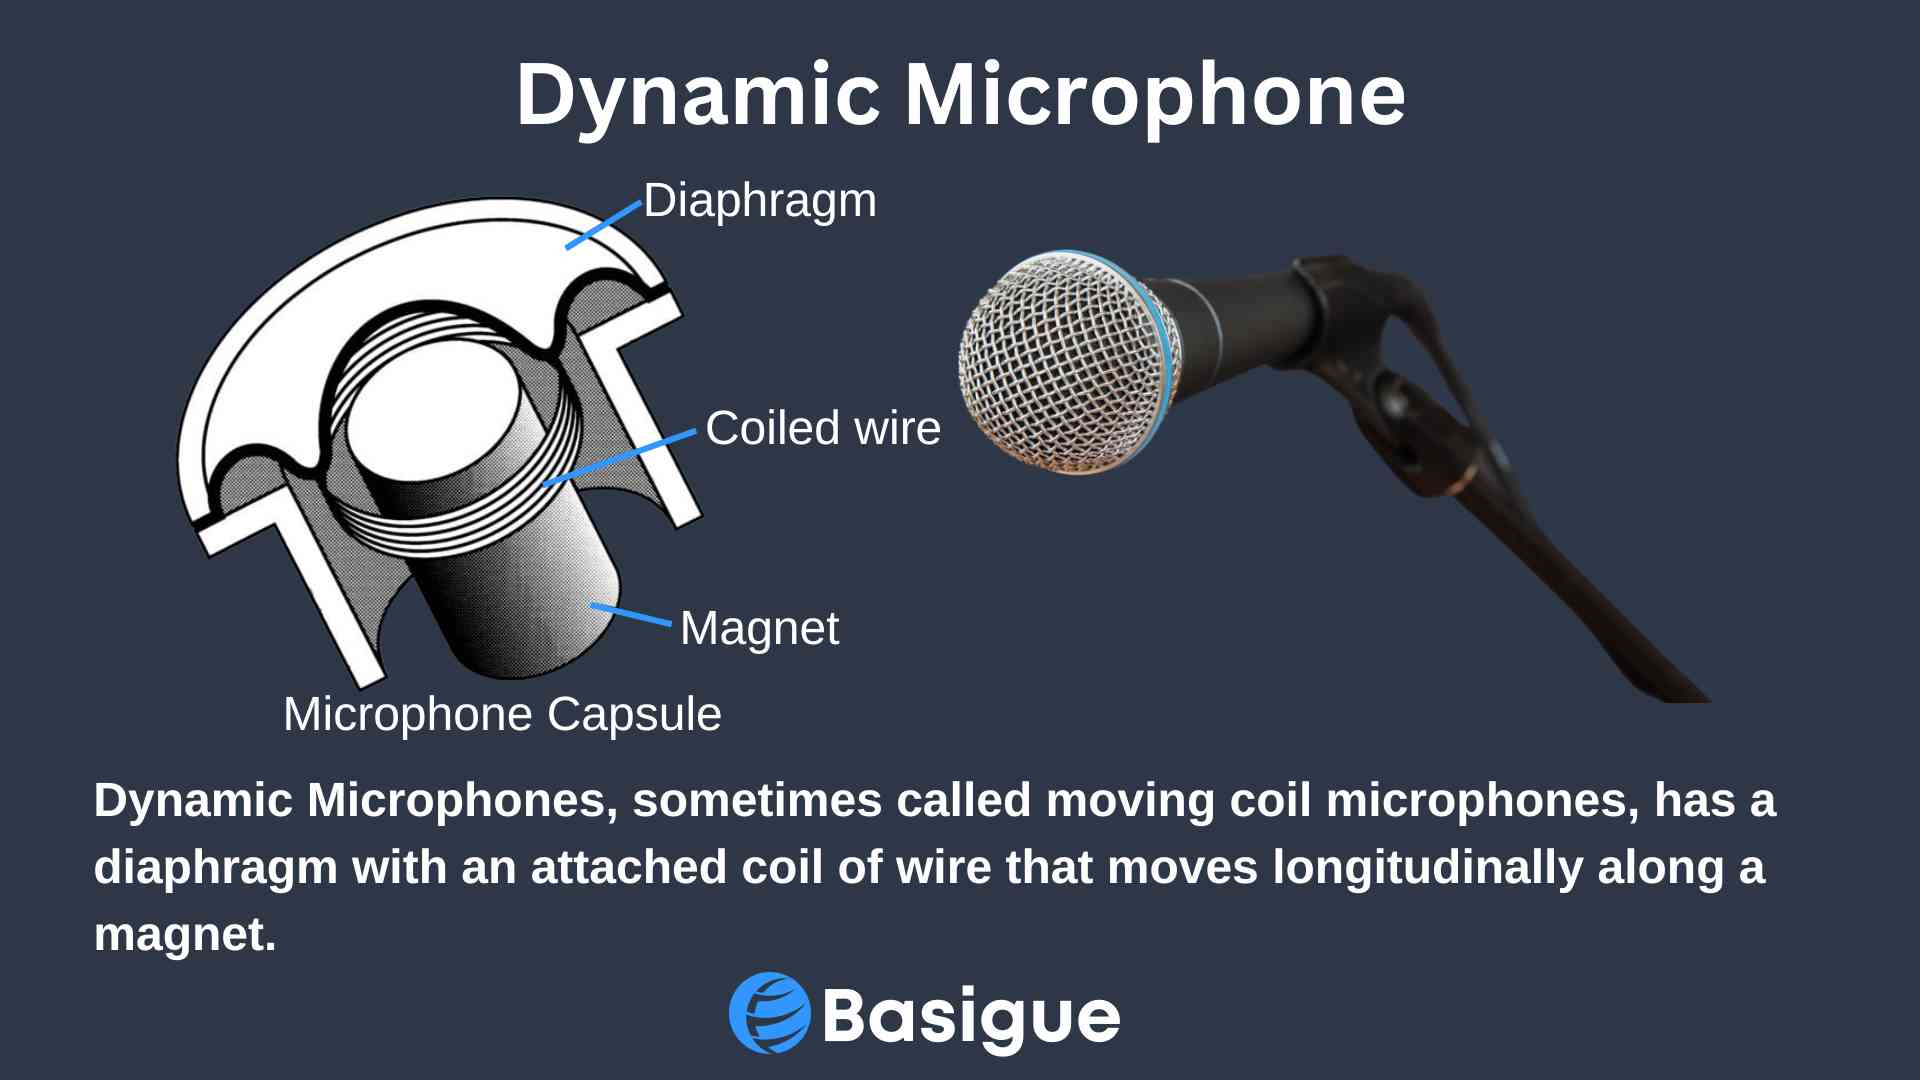
On the other hand, dynamic microphones are more robust and great at handling high sound pressure levels.
They are great for recording distortions from electric guitar amps, kick drums, and vocal belting. This is why they are ideal for recording rock and heavy metal music.
Dynamic microphones too have types that require USB or XLR cables. The USB types are more convenient, but those that use XLR cables usually have better sound quality. Ultimately, it boils down to personal preference.
Ribbon Microphones
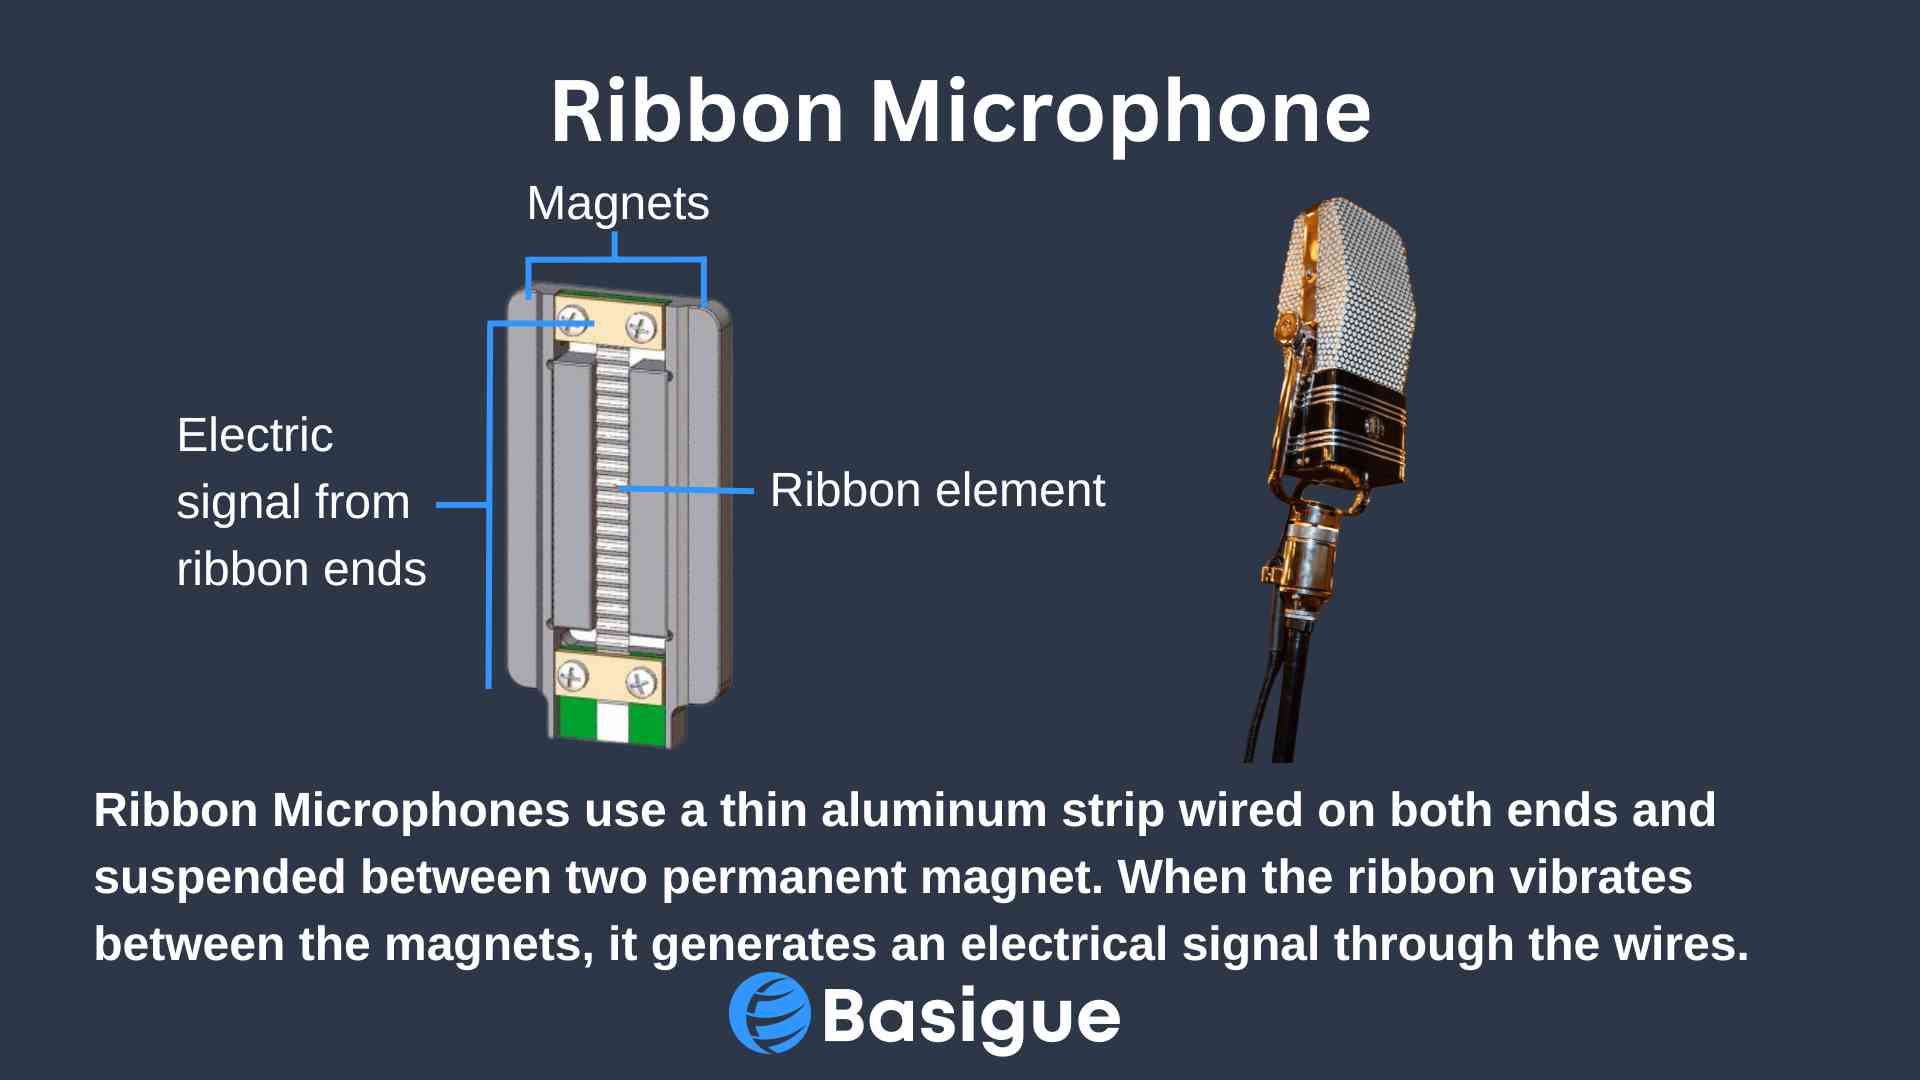
Ribbon microphones are an optional choice for a home recording studio, especially since most come with a hefty price tag.
If you don’t have a budget constraint, ribbon mics are amazing at recording low to mid-range tones, giving you an incredibly warm and vintage sound quality that can easily turn a vocal recording of Michael Bolton into Michael Bublé any day.
They are excellent at accentuating bass and treble tones when recording vocals, acoustic guitars, and drum kits.
It is common for musicians to pair a ribbon mic with a dynamic mic like the Shure SM57 when miking a guitar amp. This microphone combination is incredible for recording the dark muddiness of an electric guitar distortion without losing the clarity of the trebles.
- Check out our top picks for ribbon microphones, from the most budget-friendly option to the most valued-for-money option.
- Check out other recommendations by us for microphones for streaming.
- Check out our top picks for the best shotgun microphones, from beginner-friendly to industry-standard models.
Recommendations for Microphones
4. Pop Filter
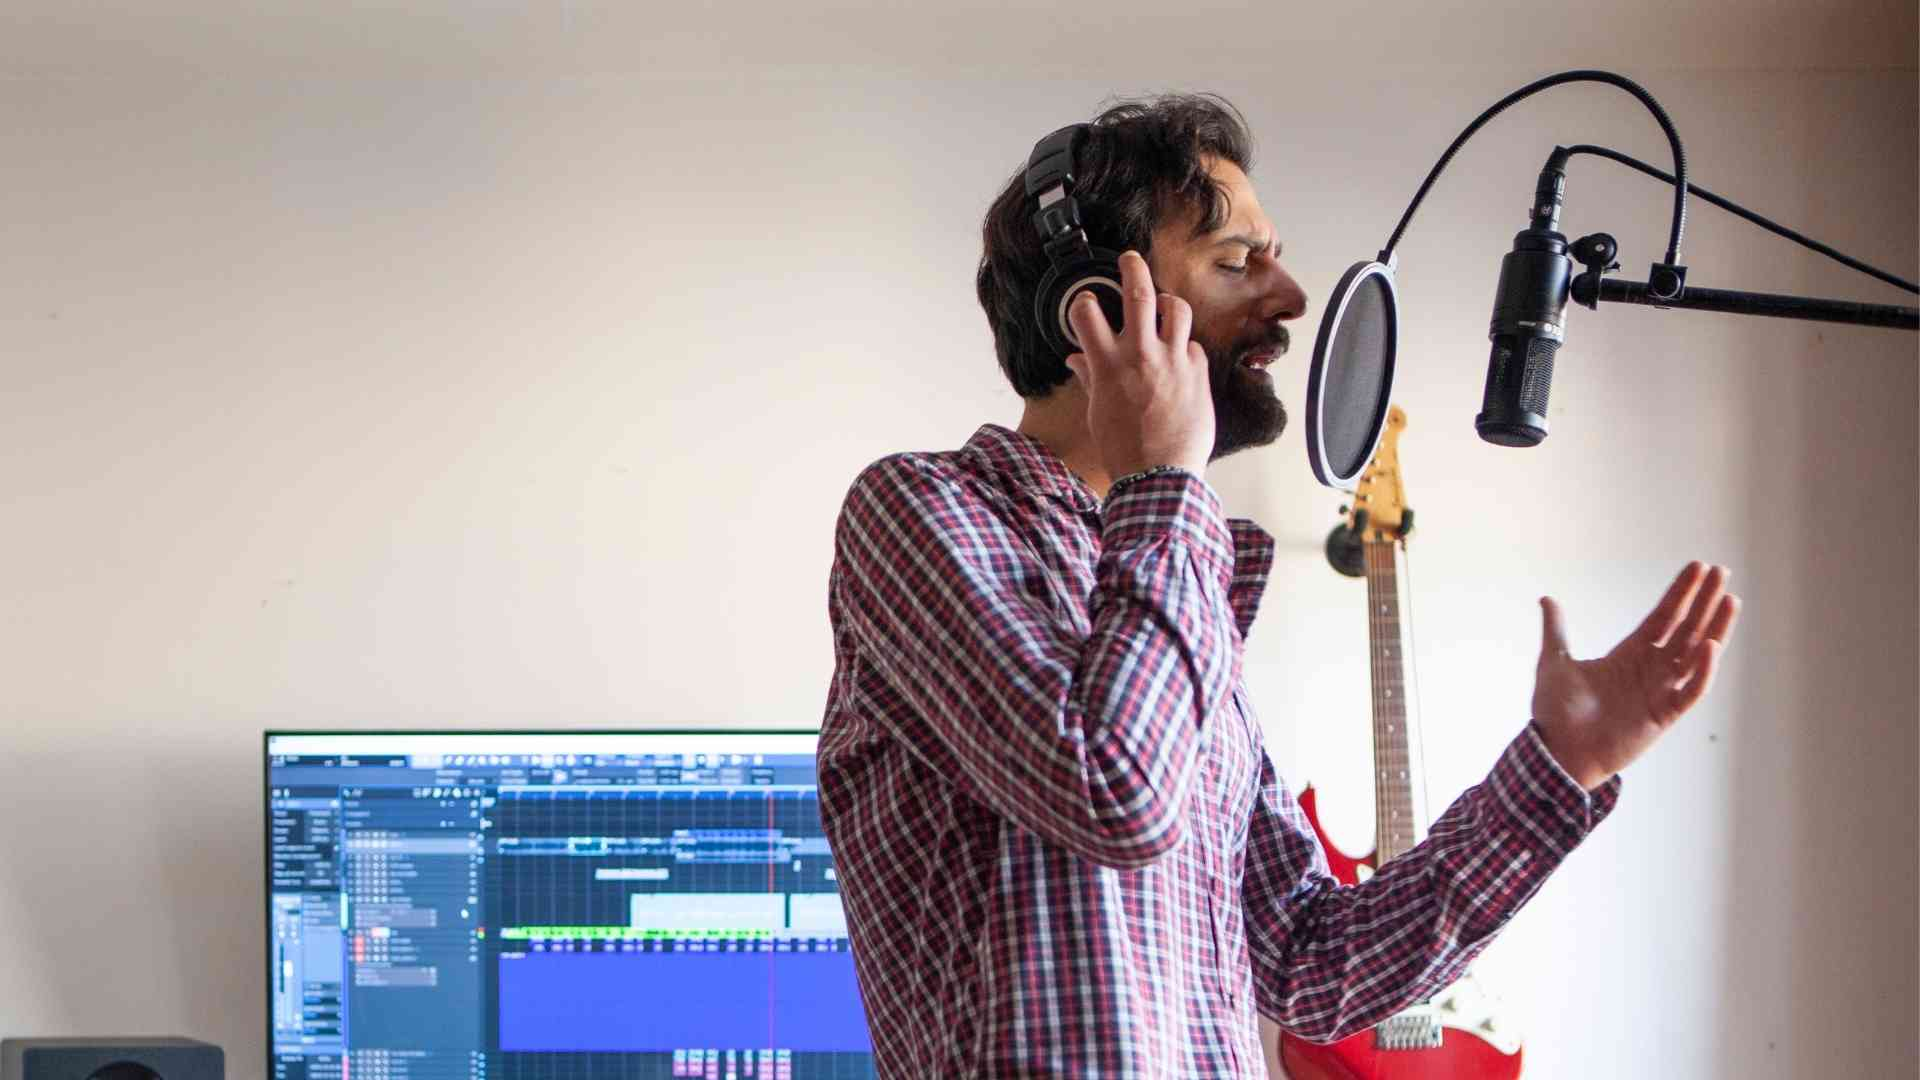
If you’re a musician or a podcaster, you know the struggle of getting a clean, clear vocal recording without any unwanted popping or hissing sounds. That’s where pop filters come in.
First things first, let’s talk about what plosives are. Plosives are those pesky popping sounds that can occur when recording vocals or spoken words. They’re caused by bursts of air hitting the microphone, typically when you say words that start with the letters “p” or “b.” The result is a distorted sound that can ruin an otherwise great recording.
Enter the pop filter. It is a barrier between you and the microphone designed to diffuse the air from your mouth before reaching the microphone, eliminating those pesky plosives.
Other than using pop filters, you can still do a few things to minimize popping. One is to adjust the placement of the pop filter so that it’s slightly off-center from your mouth. This can help reduce the impact of plosives.
Another is to practice good mic technique. Try to speak slightly to the side of the microphone rather than directly into it. And also, make sure to enunciate clearly to minimize popping in the first place.
5. Audio Interface
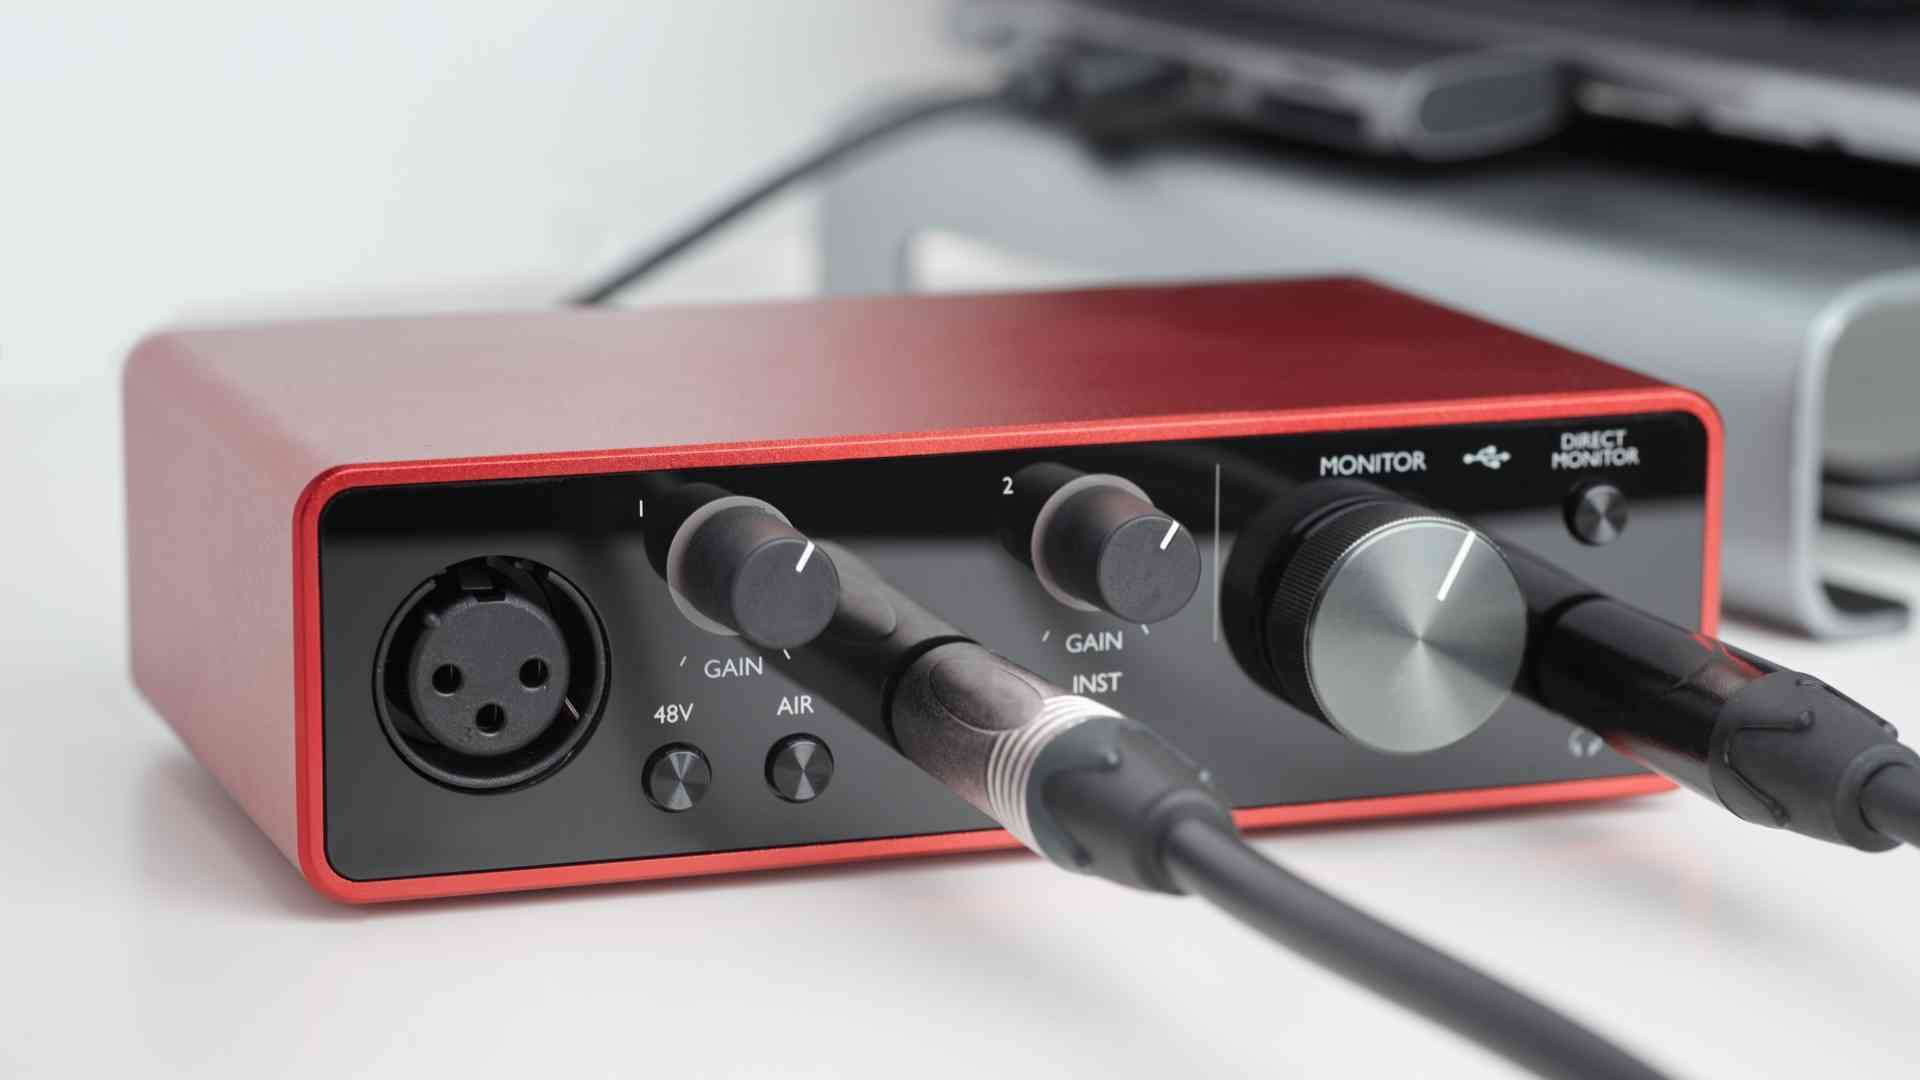
An audio interface is the next essential studio equipment for a home recording studio.
The main purpose of an audio interface is to convert the analog signal from your microphone, instrument, or line level to a digital signal for your computer and vice versa.
The audio interface is the bridge between your computer and other audio devices like speakers, microphones, synthesizers, electric guitars, etc.
The sound card in your computer simply isn’t enough to handle the complexities of recording and producing music; hence the audio interface is an external sound card that will help to reduce the CPU’s processes while providing lower latency and better audio quality when running your DAW.
Most audio interfaces can connect to your computer via firewire or USB (type C or A).
Furthermore, modern audio interfaces have a built-in solid-state pre-amp that can provide +48V phantom power for your condenser mic.
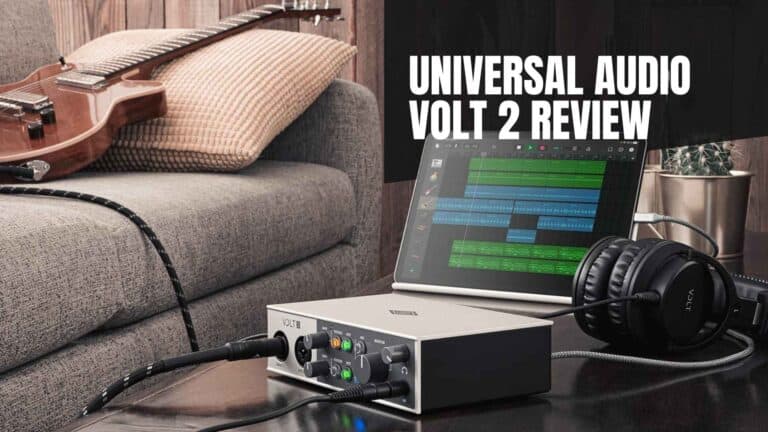
A basic audio interface normally comes with 2 input ports that accept a 1/4 inch or XLR connector of your microphone or instrument. It would also have main outputs with left and right channels for connecting to studio monitors and a headphone jack for direct monitoring.
The number of I/O ports for a basic 2×2 audio interface (2 inputs & 2 outputs) is sufficient for most amateur musicians to record a voice with an instrument. You won’t need more I/Os than that for simultaneously recording unless you plan to record a band or a symphonic orchestra.
Recommendations for Entry-Level Audio Interfaces
6. Digital Streaming Audio Mixer
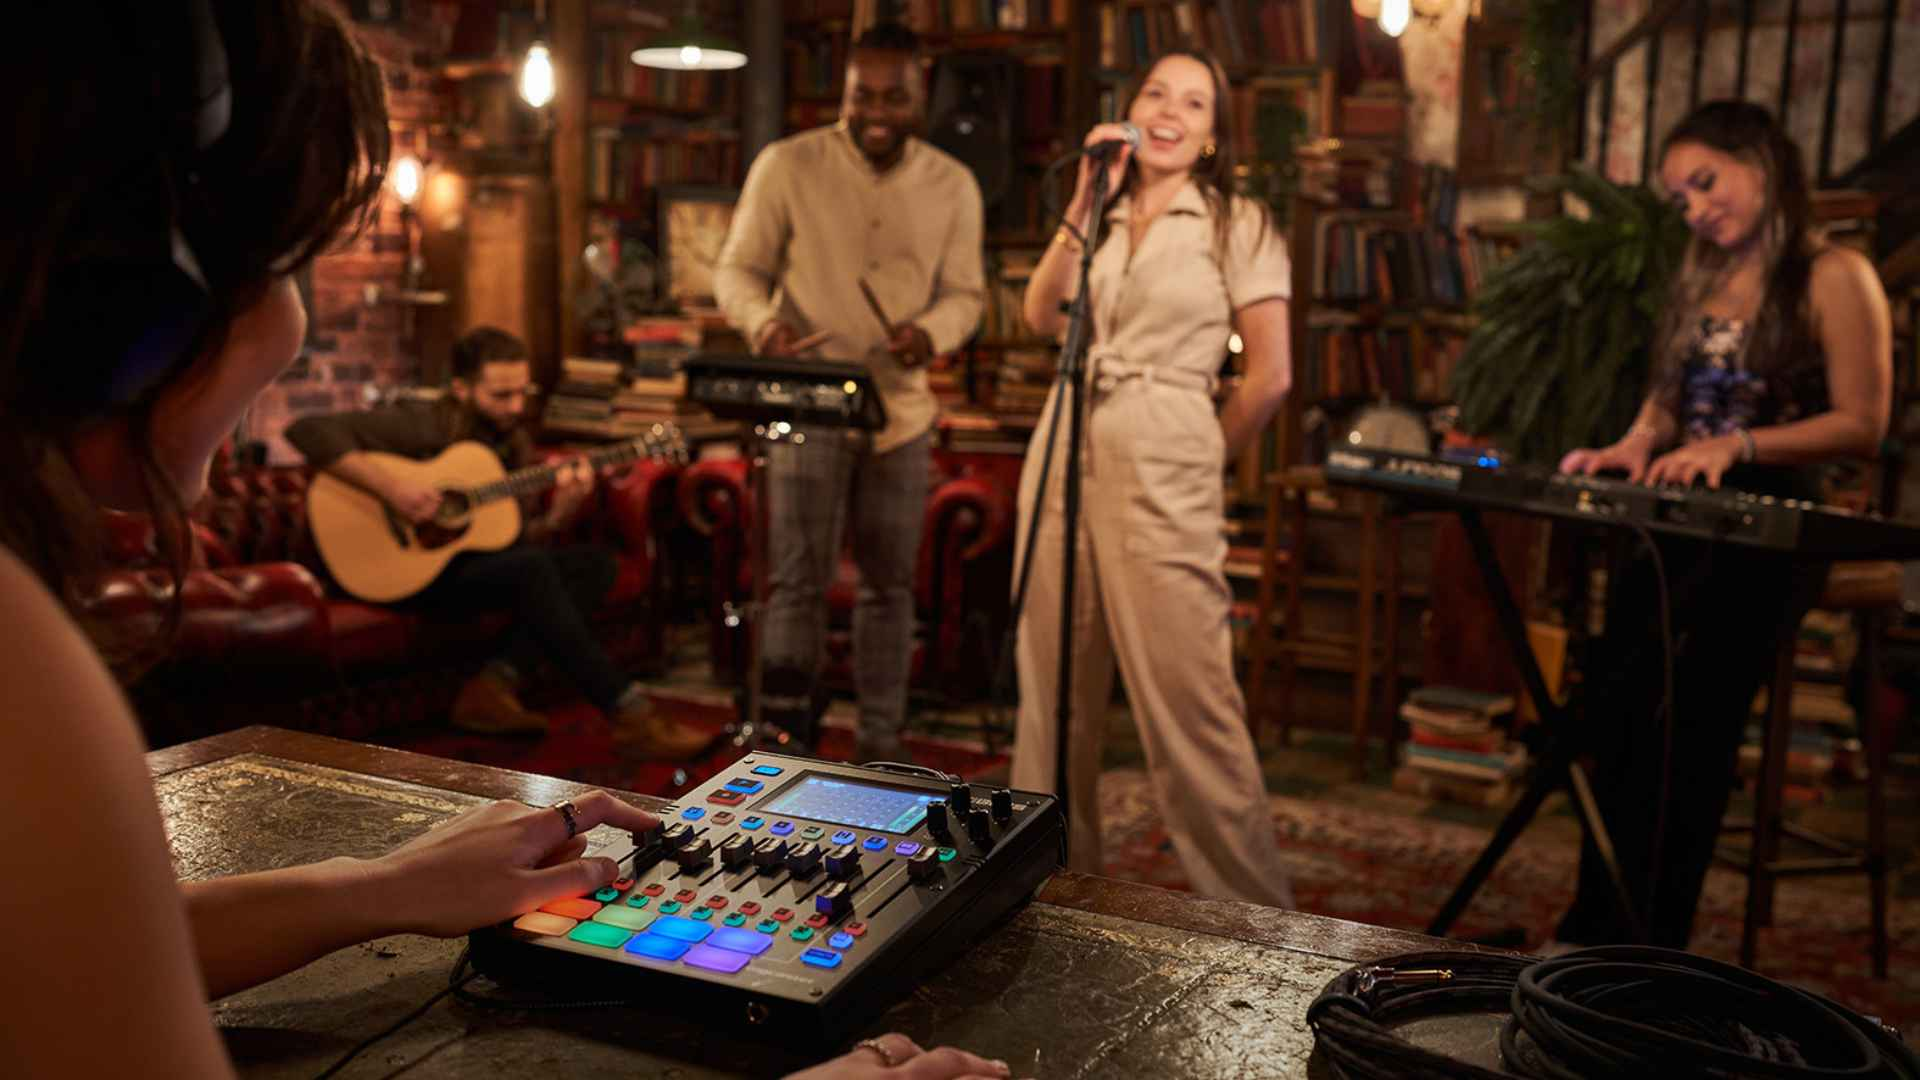
As we journey through the evolution of audio mixing, it’s fascinating to see how far we’ve come. We’ve progressed to digital mixers with onboard audio processing capabilities since the early days of analog mixers with simple stereo outputs. But as we move further into the digital age, the traditional audio mixer has evolved into something far more versatile and powerful – the digital streaming mixer.
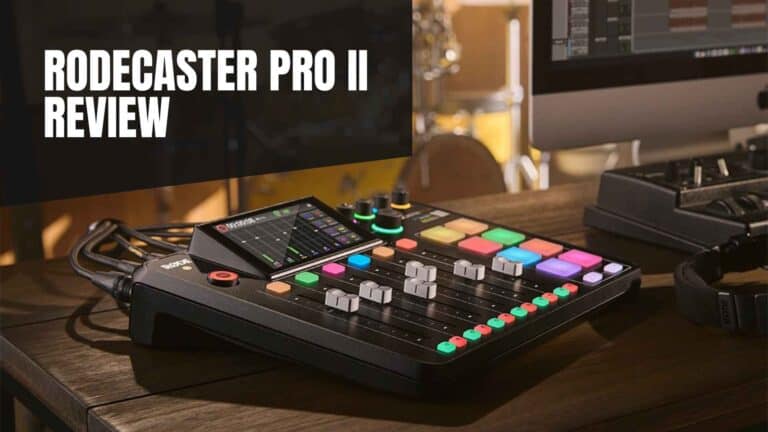
Like the ones we’ve reviewed in our guide to the best audio mixers for streaming, a digital streaming mixer is a game-changer for anyone looking to elevate their audio game. These devices are not just mixers; they’re audio interfaces, effects processors, and stream managers all rolled into one sleek package. Therefore, you will not need an audio interface if you get one of these streaming mixers.
Gone are the days of juggling multiple pieces of equipment to manage your audio. With a digital streaming mixer, you can blend analog audio from microphones and instruments with digital audio sources from your computer, all while managing your live stream. It’s like having a full-fledged recording studio at your fingertips.
What to consider when choosing a Streaming Audio Mixer?
Number and Types of I/O Ports
Similar to an audio interface, the first factor to consider for a streaming audio mixer is the number and types of input and output ports available. Most of these mixers have 2-4 analog combo jacks that accommodate your XLR mics and 1/4″ TRS instrument cables. They often feature the standard 1/4″ balanced or unbalanced stereo output jack as well as several headphone jacks for direct monitoring. Some even include mobile jacks for recording input from your mobile phone.
Connectivity
Designed for streaming, standard models of these audio mixers feature a USB-C port for computer connectivity. Some also offer Bluetooth functionality, providing the versatility of accepting phone calls or playing music from a smart device. Additionally, certain models are equipped with WiFi or Ethernet ports, enabling internet connectivity for firmware updates.
Sound Quality
The next aspect to consider is the quality of the preamps and A/D converters. Modern streaming mixers boast a wide gain range and low self-noise, providing sufficient clean gain without signal amplifiers such as a Cloudlifter or Fethead. They also offer higher sampling rates for enhanced audio clarity and greater bit depth, enabling the recording of louder sounds without distortion.
Mixer Controls
Subsequent considerations involve the physical controls available – the number of physical faders, the presence of mute or solo buttons, the quantity of volume control knobs, the number of sound pads, and transport controls such as record, stop, and pause.
Equally important is the customizability of these physical controls. Factors to consider include how many inputs can be assigned to the faders, whether sub-mixes can be created for different audiences (such as the stream audience, your headphones, and Discord chat), what controls and effects the sound pads can trigger beyond sound samples, and the intuitiveness of the transport controls.
Audio Processing Effects
Lastly, consider the available audio processing effects and their granularity. Do they include the standard compressor, noise gate, equalizer, de-esser, and limiter? Are there just three generic EQ bands, or can the levels be adjusted across the entire frequency range? Can the noise gate’s threshold, attack, and release be adjusted?
Also, are there additional effects like delay, reverb, and pitch shifter? Audio mixers specialized for musicians, like the BOSS Gigcaster 8, even have guitar and bass effects like distortion, chorus, and tremolo. All these effects add to your arsenal of sounds that can be used for recording, streaming, or mixing.
Of course, no equipment is perfect, and digital streaming mixers are no exception. They can be a bit daunting for beginners, and they may not have all the inputs you need if you’re planning to record multiple instruments simultaneously. But for the versatility, quality, and convenience they offer, they’re well worth considering for your home studio setup.
Recommendations for Streaming Audio Mixers
7. Studio Headphones
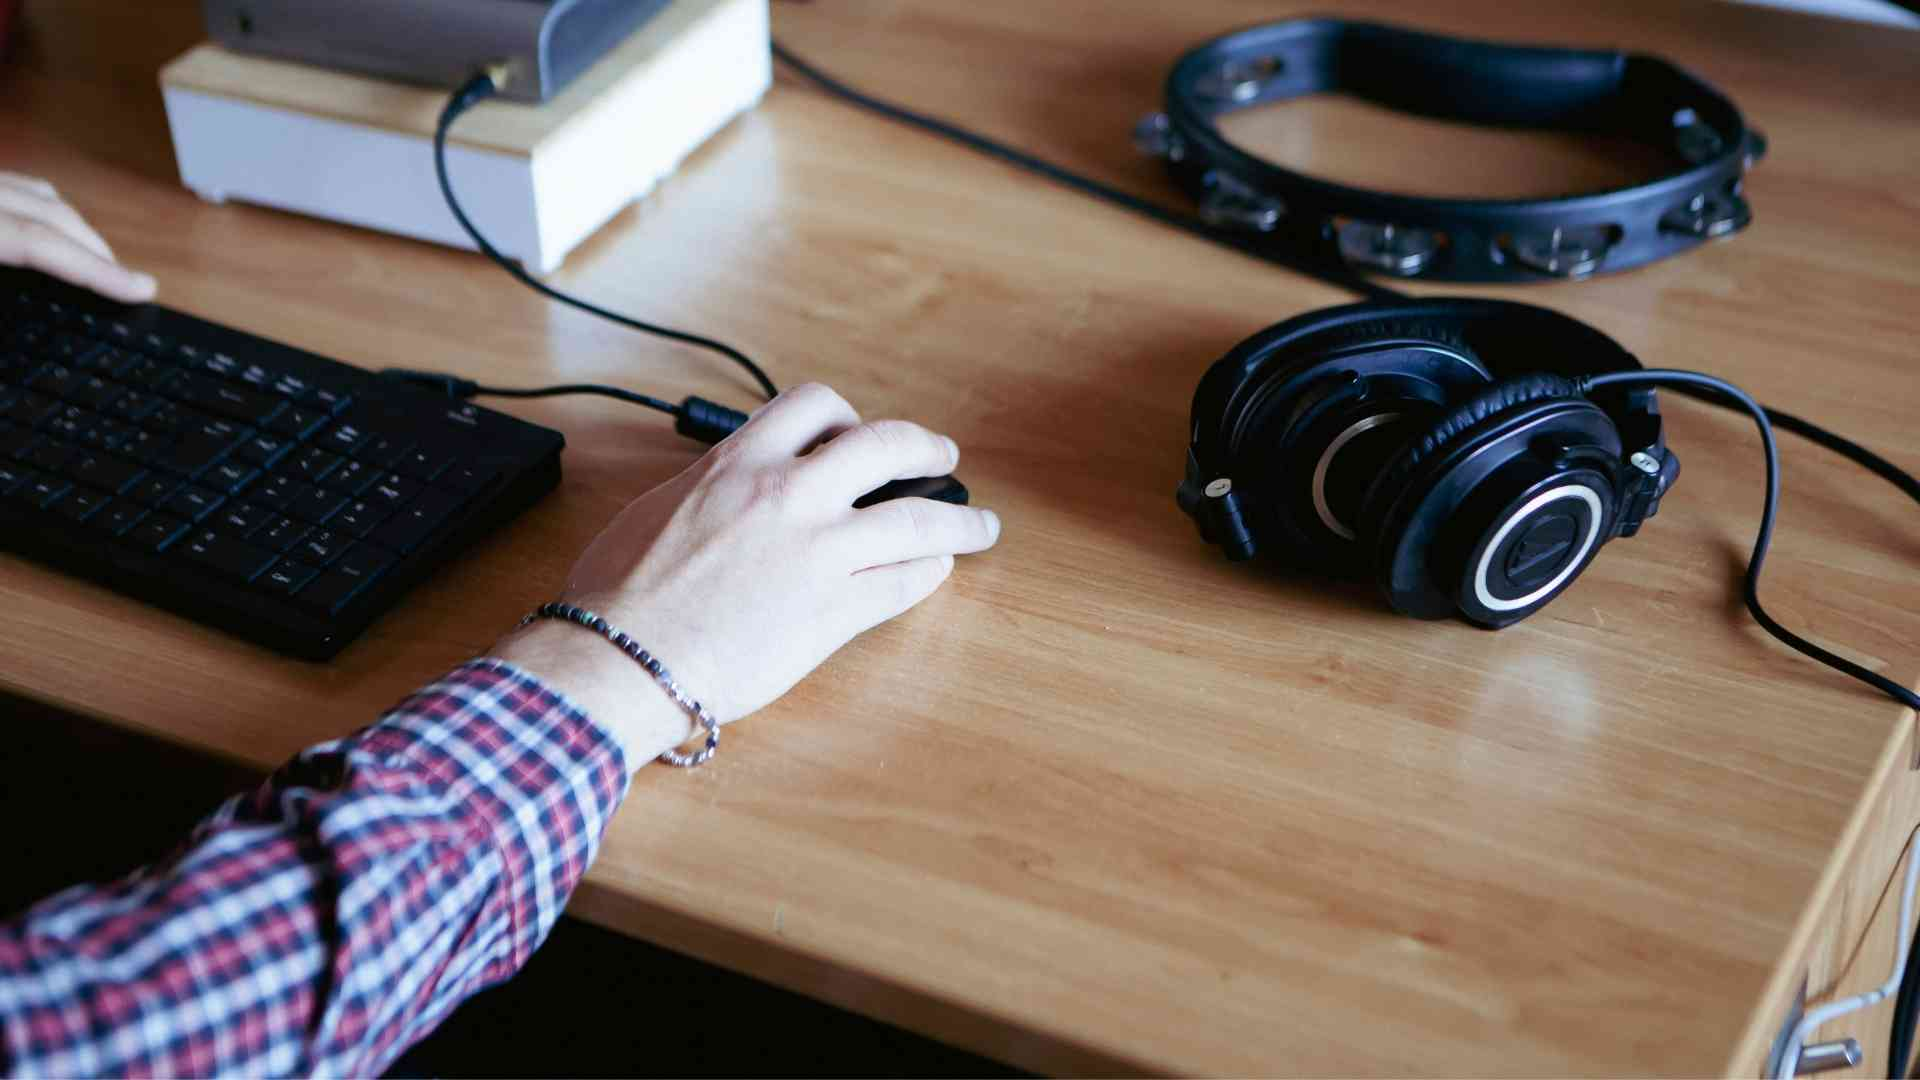
Are studio headphones necessary for your home recording studio, or are they just aesthetic studio equipment for you to ‘appear professional?’ I mean…Travis Scott looked pretty dope while recording Sicko Mode with those bad boys on, right?
And you might be thinking, “Why can’t I just use my regular headphones?” Or better still…your laptop speakers.
Can regular headphones be used for mixing and recording?
Firstly, while regular consumer headphones might be okay for a home recording, they cannot be used for mixing because they are enhanced to boost the trebles or bass, misrepresenting the music you are mixing.
There is only one instance where regular headphones can be used: after you have completed your music production and want to hear what your music sounds like to a consumer using these regular headphones.
And worse still, using your laptop speakers for mixing music. You’ll hardly hear any bass from laptop speakers as there are no subwoofers, and they’ll just make all your music mixes sound horrible.
Why studio headphones are important for mixing and recording
Studio headphones have a flat frequency response that will give the listener an uncolored sound so that the necessary adjustments can be made during mixing, especially when doing EQs. You don’t want to be tuning down the bass only to realize later that it cannot be heard on regular speakers.
Open-back headphones are great for mixing music and for picking up nuances like clicks, pops, and changes in pitch. However, they cannot be used for recording as they will bleed sound into the microphone.
After all that has been said, the primary purpose of having a set of studio headphones is not necessarily for mixing music but for monitoring during the recording process, particularly when overdubbing, where individual tracks are recorded separately. Closed-back headphones are required for recording as they do not leak sound out into the microphone.
Recommendations for Studio Headphones
8. Studio Monitors
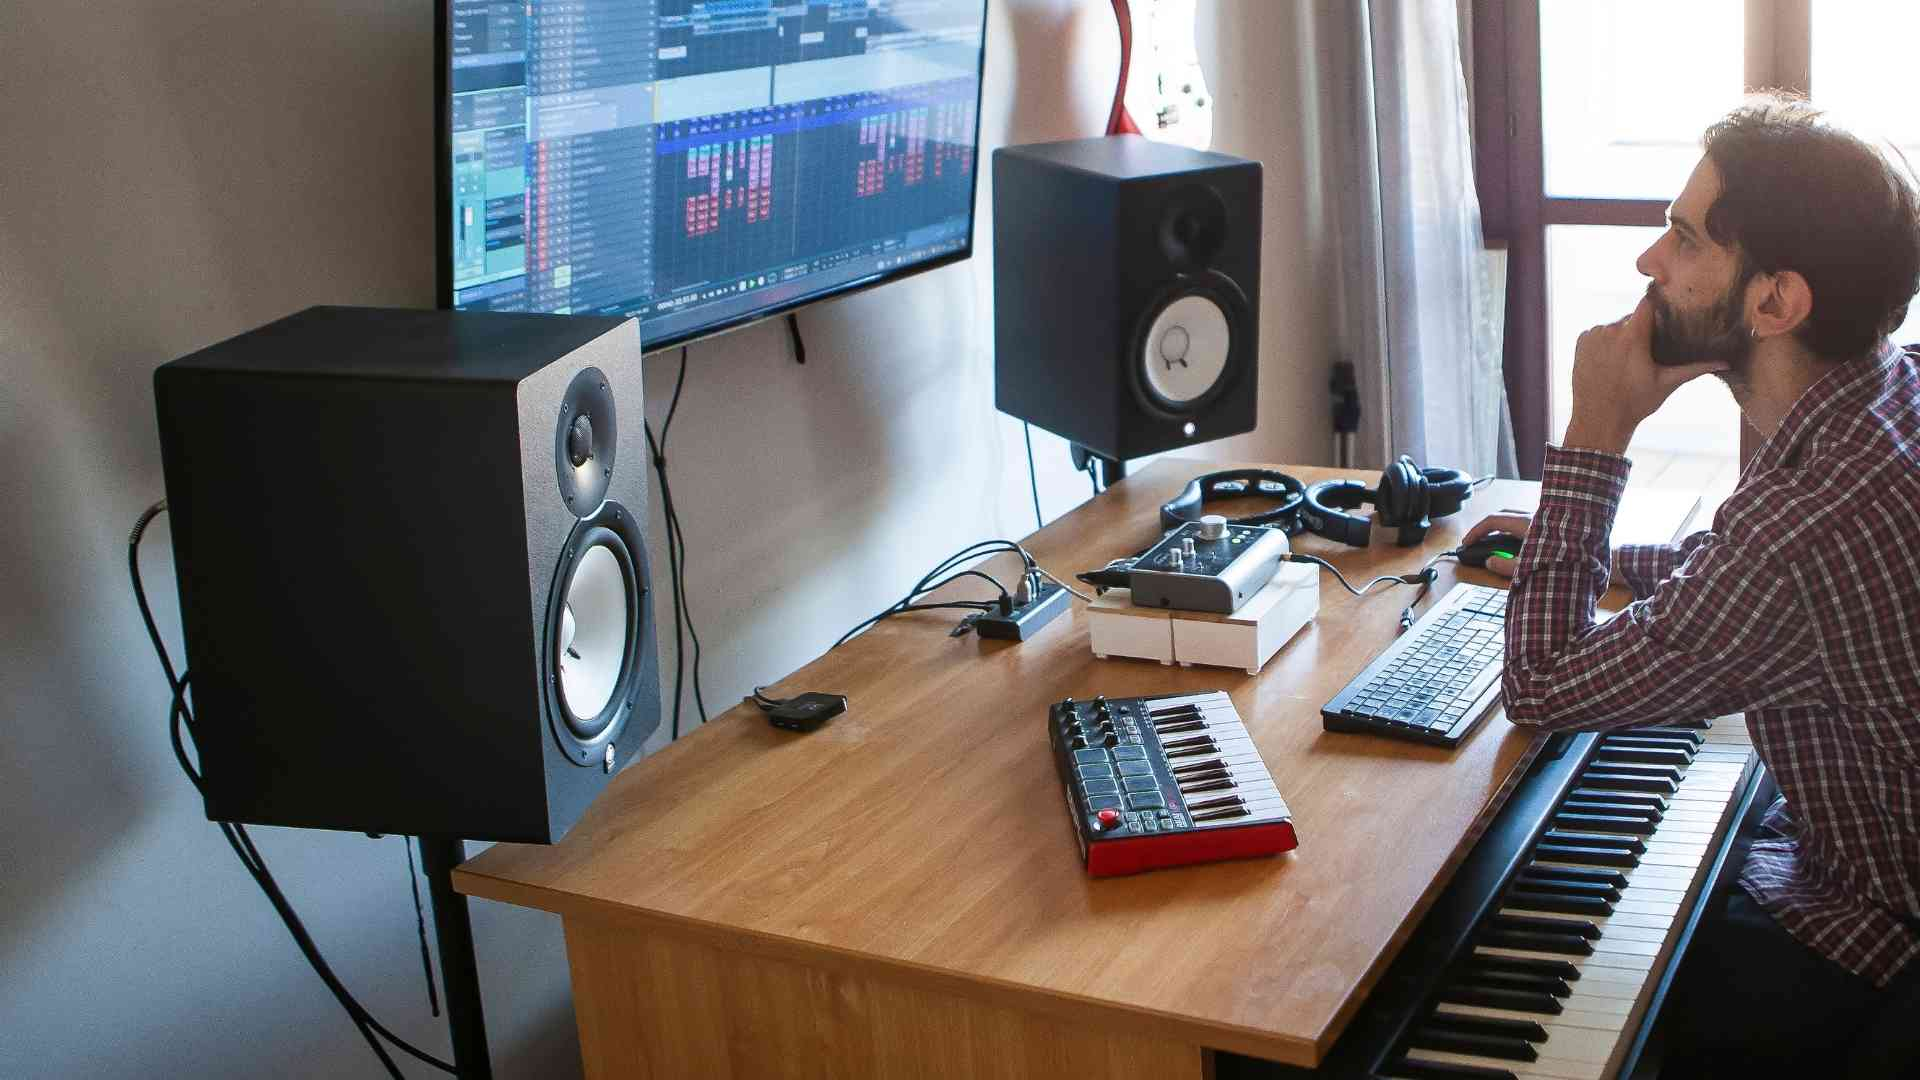
So, you’ve decided to take our advice to get a decent pair of studio headphones for your home studio, yet here we are, advising you to get a pair of even more expensive studio monitors for the same purpose of mixing songs.
Not only are they more expensive, but you will also need proper studio acoustic treatment, which you do not need for headphones.
Do I need studio monitors for mixing when I already have studio headphones?
Sure, you can rely on your headphones for mixing at the start, especially if you are on a tight budget. However, studio monitors will sound more authentic than headphones.
It does not matter how neutral a pair of headphones sounds or even if they have the best soundstage, sounds from headphones go directly into your ears and cannot fully emulate listening inside a room.
Since headphones are so close to your ears, the audio will sound much wider than it should, distorting your perception of the soundstage.
Why are studio monitors important for mixing?
Studio monitors offer uncolored sound (unlike consumer speakers) due to their flat frequency response and provide a clear representation of the soundstage and stereo image.
Furthermore, the sounds produced by each monitor are picked up by both ears of the listener, which creates a more realistic and accurate listening experience.
However, it’s important to note that the monitors’ placement and the acoustic treatment of the home recording studio can significantly affect the critical listening experience.
Additionally, the reverberations created by the monitors’ sound reflection off the walls provide the sensation of listening to a live band in a room or the speakers in a club, adding to the spatial perception.
The characteristics of a studio monitor will allow you to create a more balanced mix for your song that will sound good across different audio listening equipment and systems.
Placement of Studio Monitors
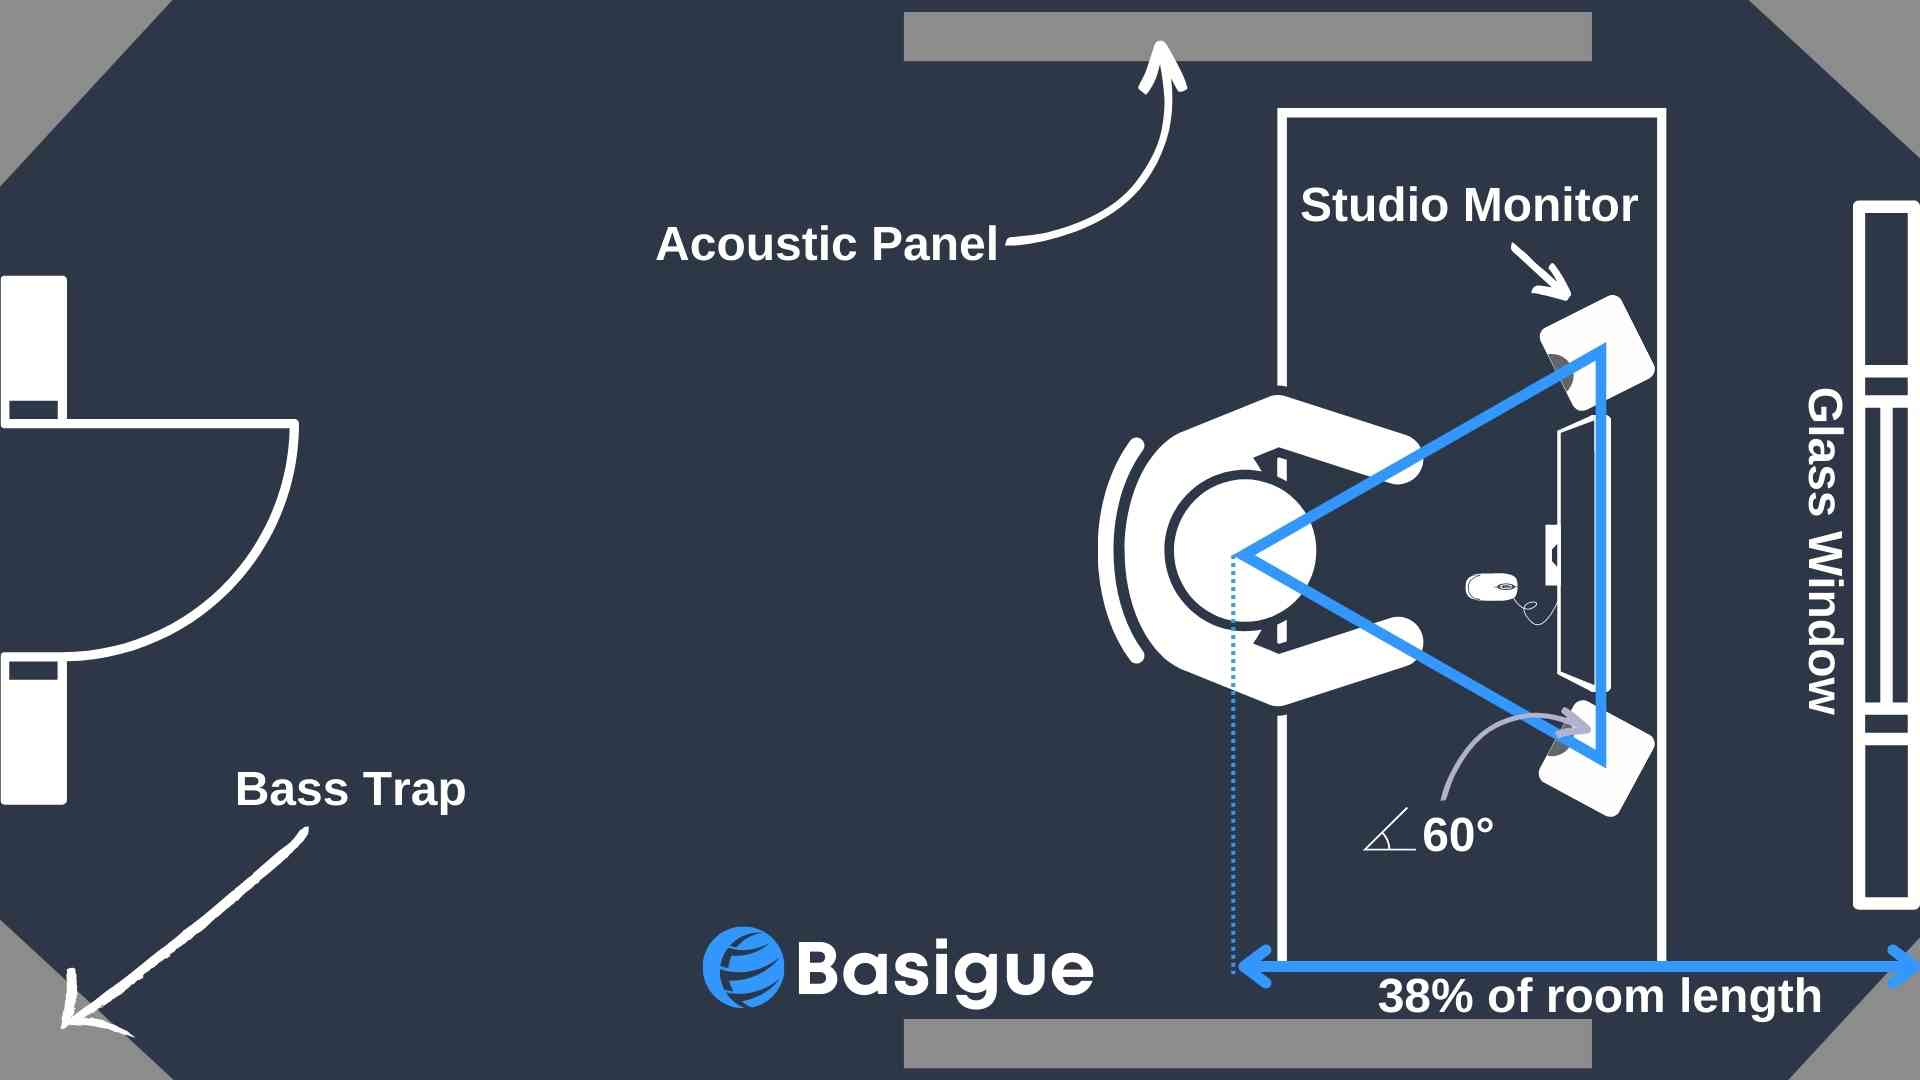
Besides having good studio monitors and acoustic treatment of the room, proper studio monitor positioning can make a huge difference to how the audio sounds.
Assuming you have a decent-size rectangular room (the worst choice is a small-squarish room with low ceilings), here are some key pointers for studio monitors placement:
- There should be a minimum distance (according to the manufacturer’s guidelines) between them and the front wall to prevent bass buildup.
- Point the back of the monitors towards windows (if possible) as low frequencies can pass through glass.
- Position them along the shorter wall so that the sounds emitted will take longer to reach the back wall before being reflected.
- Your listening position should be 38-40% of the room’s length from the front wall.
- Form an equilateral triangle between them and your listening position to achieve phantom center.
- They should be placed at ear level.
- The line of sight to your ears should not be blocked.
Recommendations for Studio Monitors
9. Acoustic Treatment
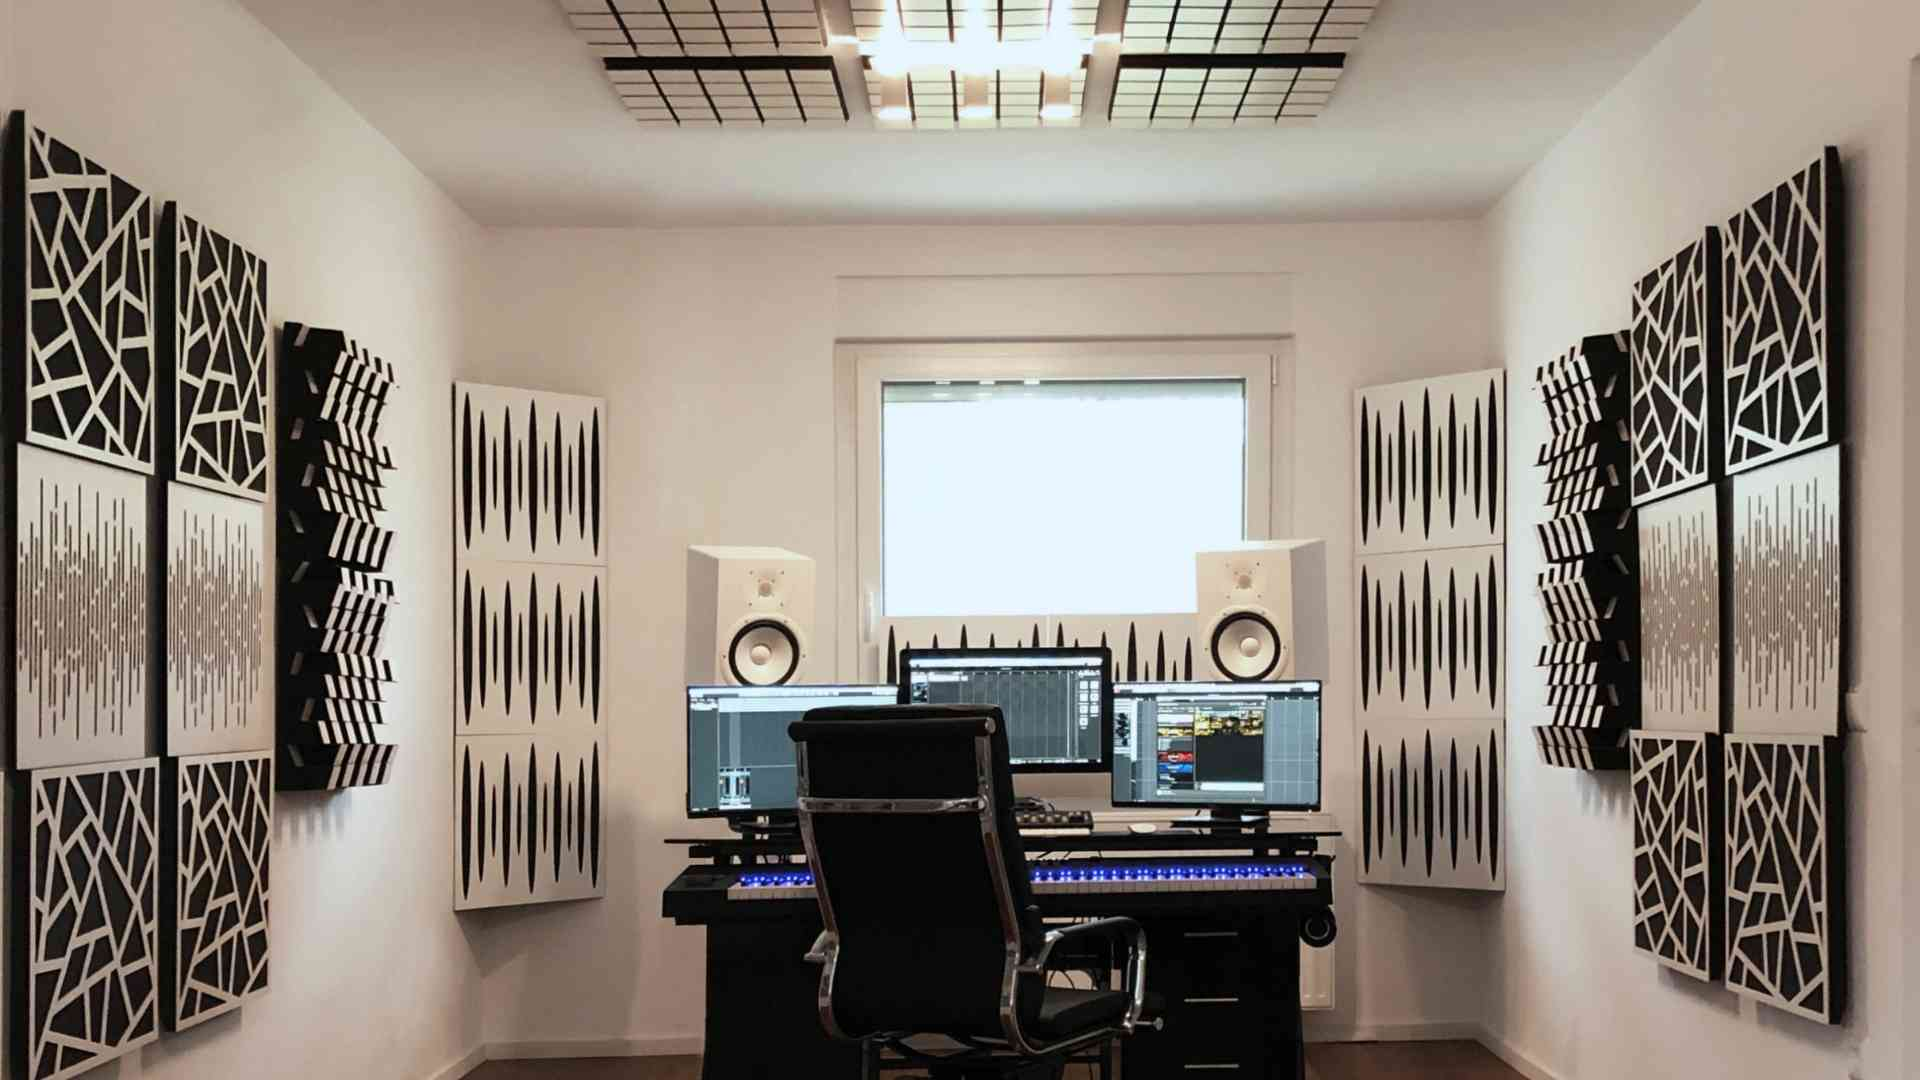
It does not matter if you have the best studio monitors; when sound waves created by them bounce off walls, echoes and reverberations are created that can muddy up your recordings or give you a bad stereo image when mixing.
Acoustic treatment is essential for a home recording studio setup as it helps absorb these unwanted sounds and prevent them from interfering with your recordings or mixing.
Acoustic panels and bass traps are used for acoustic treatment and are made with different materials such as foam, fiberglass, and Rockwool. However, it is best to avoid foam panels because they only absorb high frequencies and let low tones pass through.
One of the most common problems acoustic treatment can address is first reflection points. These are the spots where sound waves bounce off the walls and reach your ears before the direct sound, creating comb filtering and other unwanted effects.
By strategically placing absorption panels or diffusers at these first reflection points, you can improve the clarity and accuracy of your audio.
Another area to focus on is room corners. Corners can cause bass frequencies to build up and create a boomy sound in your recordings. Bass traps, thick absorptive panels designed to trap bass frequencies, should be placed in the corners of your room to address this issue.
But what if you’re on a budget? Can you still achieve good acoustic treatment without breaking the bank? The answer is yes! You can use everyday items like mattresses, curtains, and carpets to help absorb sound in your room.
Just remember, high frequencies are absorbed by lighter materials, while low frequencies require thicker, denser materials like Rockwool.
It’s also important to note that acoustic treatment is different from soundproofing. While acoustic treatment helps improve your recordings’ sound quality, soundproofing aims to prevent sound from escaping your room or entering from outside.
If you need to soundproof your room, you must take additional steps, like adding mass to your walls and sealing gaps or leaks.
10. Digital Audio Workstation (DAW)
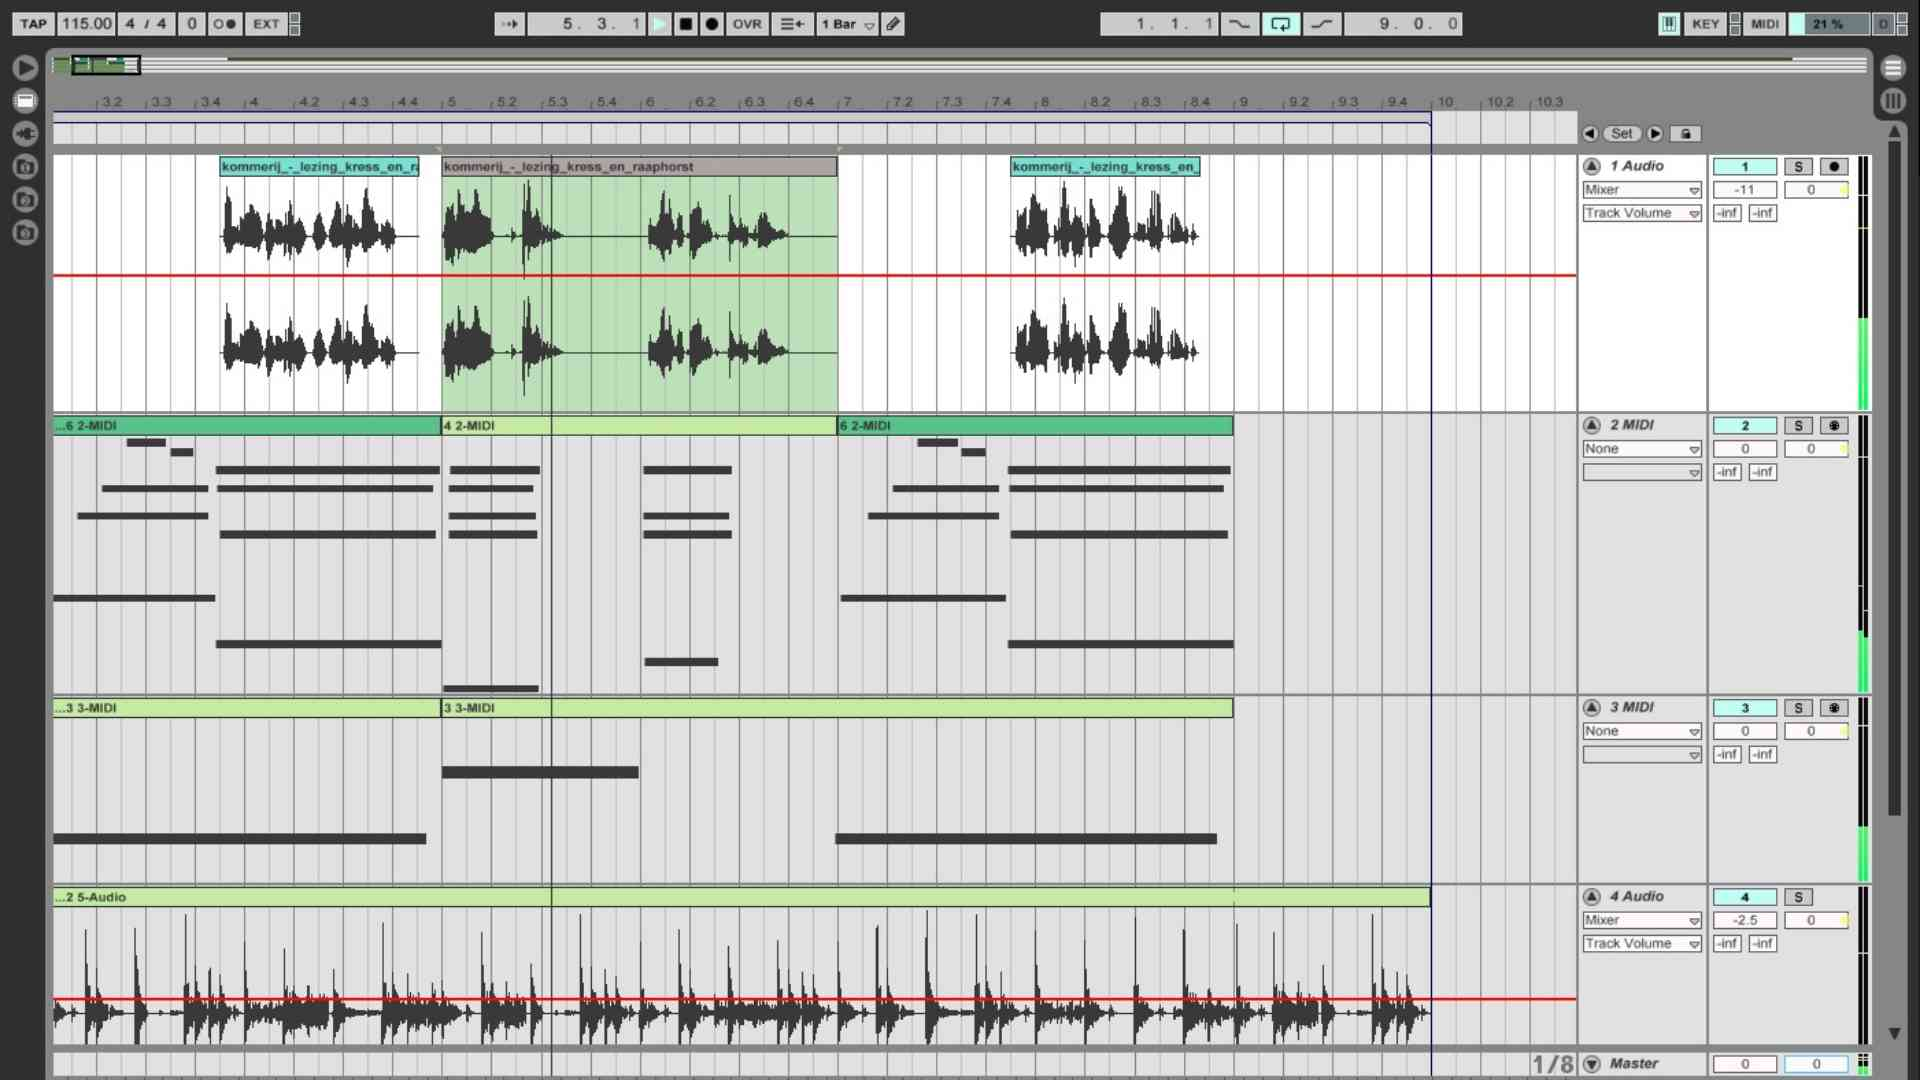
A Digital Audio Workstation (DAW) is the main computer software for recording, editing audio, mixing music and audio production in your home recording studio setup.
It provides you with the tools to sequence MIDI, record audio, modulate, and process your audio to make it sound exactly how you want it.
Many options range from free and lite versions to industry-standard paid versions for Mac (like Logic Pro) and Windows users. Each has its own set of virtual instruments, mixers, plugins, sample tracks, and audio processing tools to make your music sound amazing.
If you’re a beginner, deciding on a digital audio workstation can be tough due to the steep learning curve of each DAW, and most musicians would be proficient with only one or two types.
We recommend beginners start with the lite version of a digital audio workstation and upgrade to the standard version only when advanced tools are required. Investing your time in learning free DAWs that feel incomplete is not a good idea.
The best part about DAWs is that they’re constantly evolving and improving. New features and updates are always added, making producing high-quality music from the comfort of your home easier than ever.
Recommendations for DAWs
11. MIDI Keyboard Controller
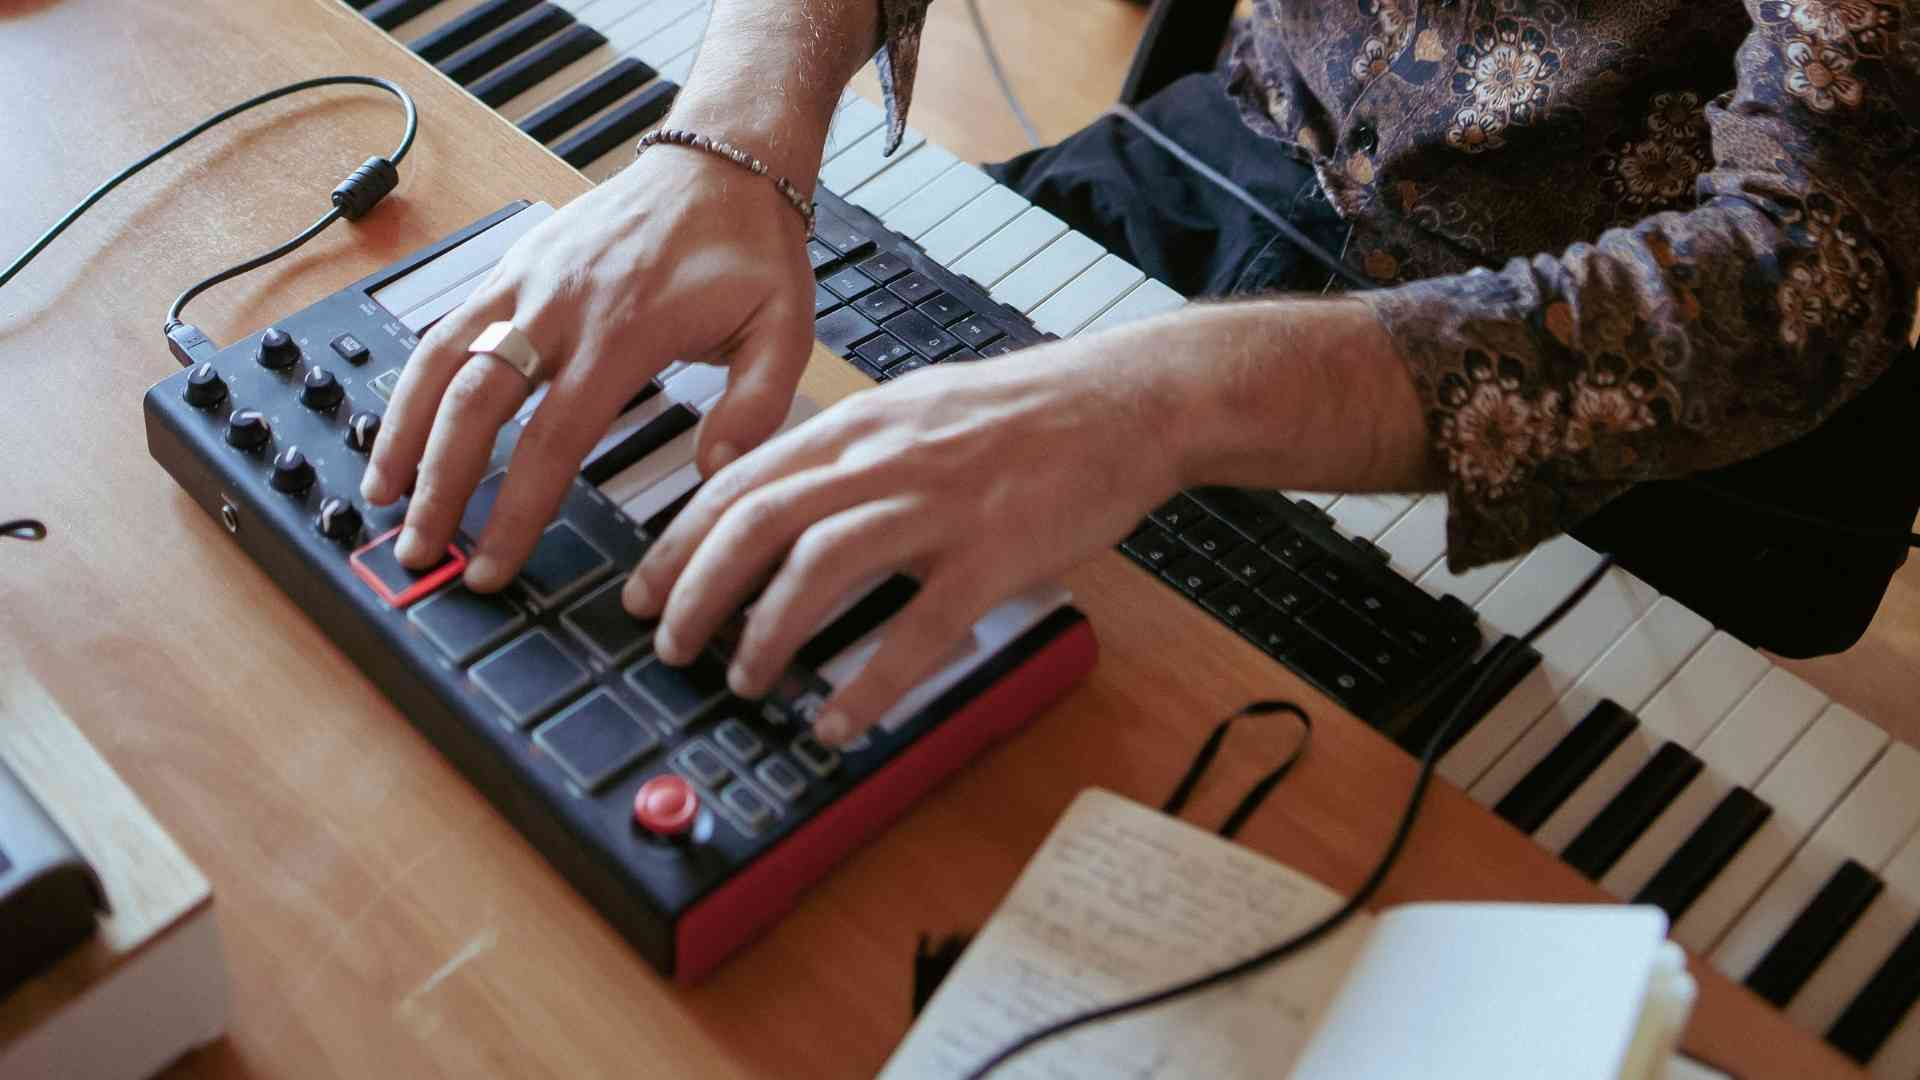
Is a MIDI Keyboard Controller necessary?
A MIDI controller keyboard can either be an optional studio equipment or the most important equipment in a home studio. If you’re anything like me, writing notes on your DAW with a mouse just doesn’t cut it.
A MIDI controller is necessary for your home recording studio if you plan to mix music solely using virtual instruments without recording live instruments. In this situation, you’d save a lot of money because you only need a laptop, a pair of open-back headphones, a DAW, and a MIDI controller.
One of the main advantages of a MIDI keyboard controller is that it allows you to play and write notes in real-time, just like on a real piano. Plus, with drum pads and pitch bend mod wheels, you can add a whole new level of expression to your electronic music too.
What to consider when choosing a MIDI keyboard controller?
First and foremost, consider the number of keys you need. A 25-key keyboard is lightweight and compact, which is great for portability or if there’s space constraint, but if you’re playing complex chords or basslines, you may opt for a larger keyboard with 49 or even 61 keys. And if you’re a pianist, you may want to look for a keyboard with weighted keys.
Modern MIDI keyboards come with velocity-sensitive keys, which play a louder note the harder you press the keys. Some also have aftertouch (or pressure-sensitive keys), allowing you to send MIDI data to generate additional sounds when some pressure is applied after the initial note has been played.
Although most MIDI keyboards will work with most DAWs, some are designed to work better with specific DAWs. For example, the Novation Launchey is made to integrate well with Ableton Live.
While modern MIDI keyboards have a USB connection, some even offer 5-pin MIDI support and CV/gate outputs for added connectivity to an external MIDI synthesizer or analog gear.
Don’t forget about extra features like an arpeggiator or step-sequencer, which can help you create new melodies and rhythms. Transport controls, faders, sliders, knobs, and buttons can also give you expanded control over your virtual instruments and plugins.
Recommendations for MIDI Keyboards
12. Ergonomic Chair (Optional but Highly Recommended)
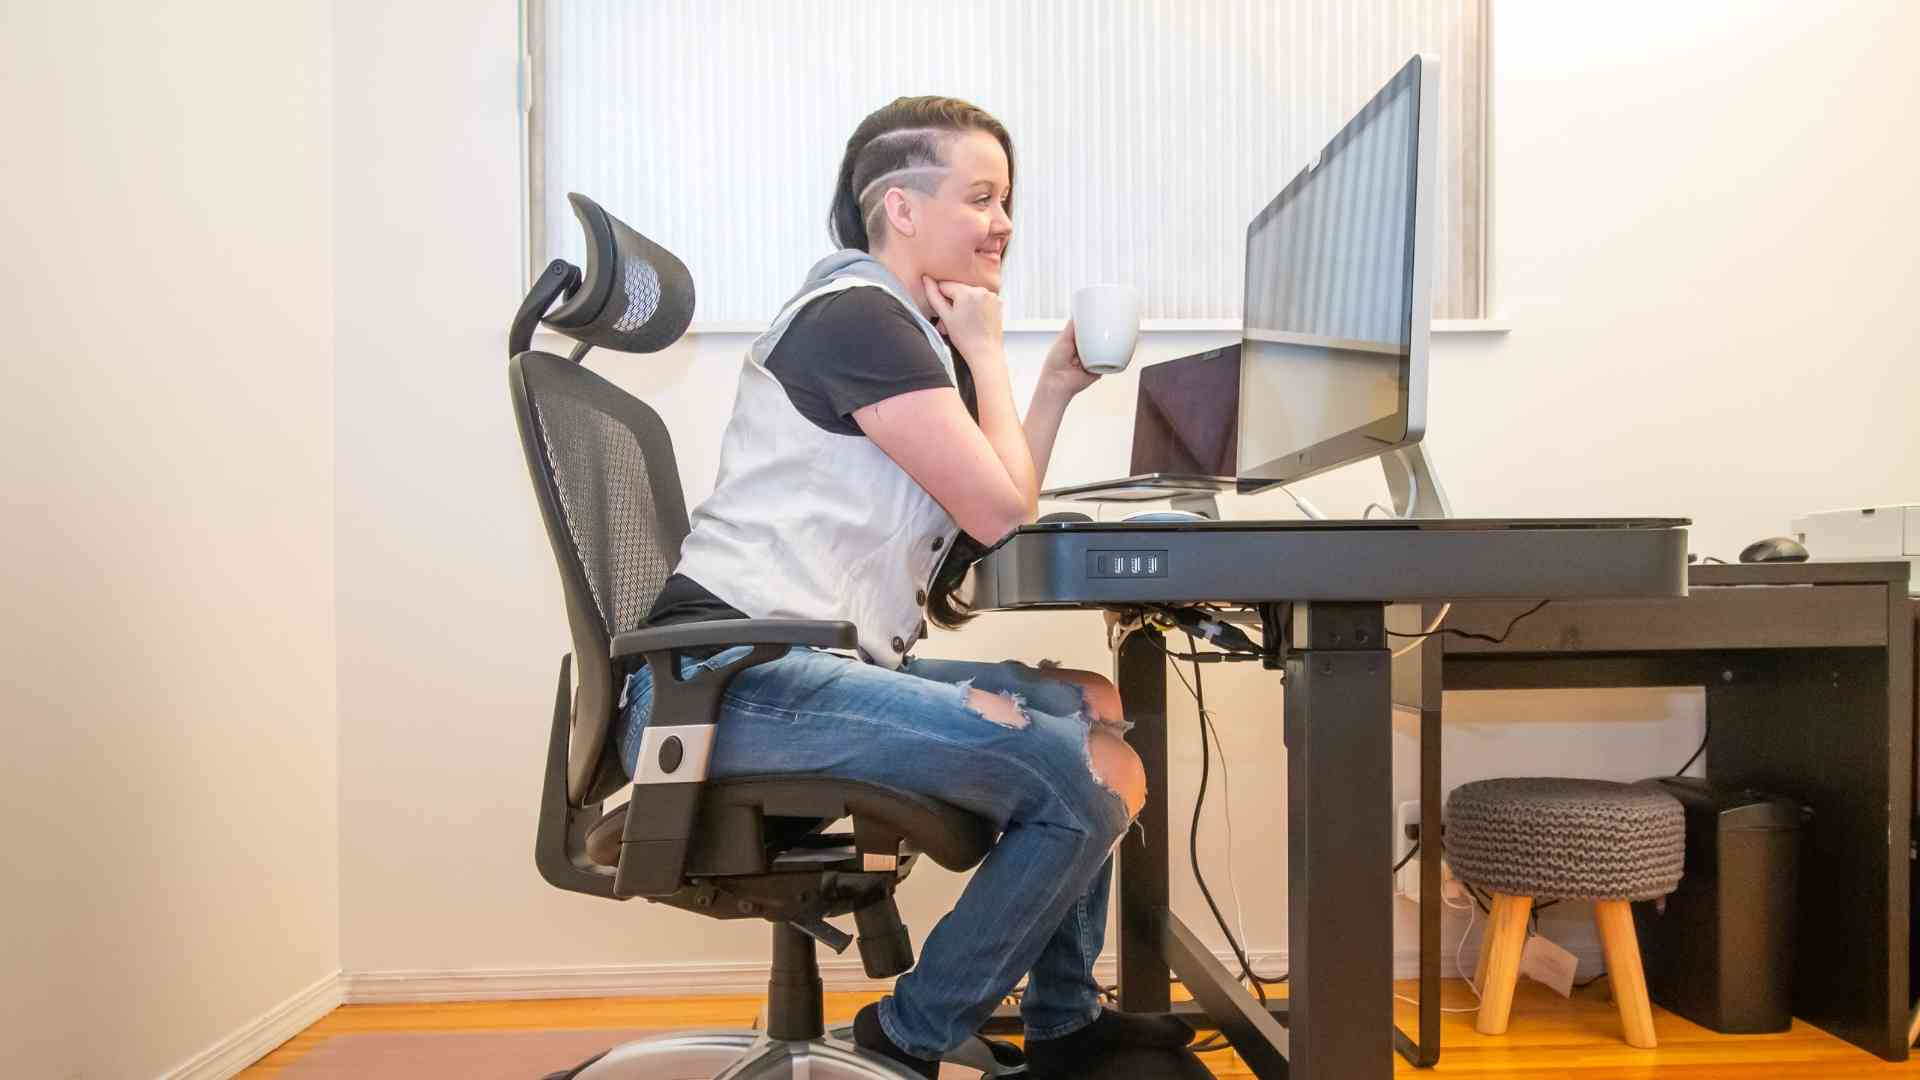
While an ergonomic chair might not be ‘necessary’ for a home studio, it might be one of the most important pieces of equipments you’ll need.
Let’s face it, we spend much time sitting in our home recording studio. Hours hunched over a computer or mixing console, lost in the music. But we don’t realize that bad posture and extended periods of sitting can lead to musculoskeletal disorders and chronic back pain. That’s where the ergonomic chair comes in.
An ergonomic chair is highly adjustable and designed to support your body in all the right places. It has lumbar support to help maintain the natural inward curve of your lower back, reducing the strain on your muscles and spinal discs.
It also has adjustable height to ensure your feet are flat on the ground, your knees are level with your hips, and your elbows are level with your keyboard or mixing console. This helps prevent bad posture and ensures you’re comfortable for extended periods of sitting.
Most of the time, an ergonomic chair would also have adjustable armrests and headrests to find the perfect position for your arms and head. Its backrest is usually made from breathable mesh, so you don’t get too sweaty during long sessions, and it normally has a comfortable seat cushion to prevent numbness in your bottom.
If you are looking for a suitable ergonomic chair for your home studio, check out our top recommendations for the best ergonomic chairs for back pain!


